


Brute Force Atmospheric Path Tracer
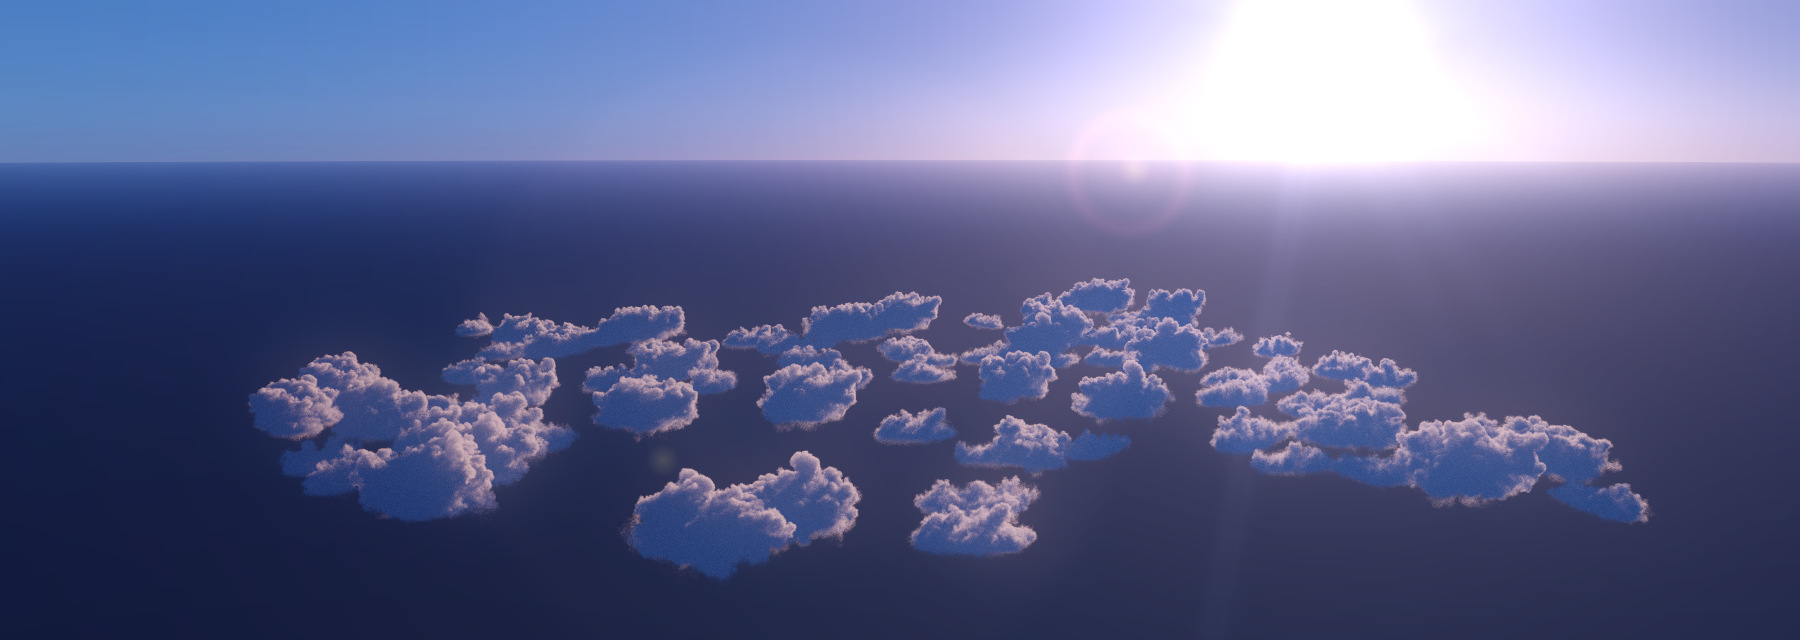
Building a physically based atmospheric renderer without precomputation

Over the course of last year I’ve seen VPT being forked, cloned and built many times. Although it is still a toy path tracer I felt the need to provide some kind of documentation other then a simple github readme file.
In this article I will guide you through the installation, build and usage of VPT and its accompanying houdini plugin “instancer_hda”. I am hoping that this article will guide people who wishes to take a quick look and do a couple test renders on VPT. If you feel that I’ve missed a point please feel free to contact me.
Installing VPT is as simple as it gets, You can clone the github repo to a folder of your choice by using the command:
git clone --recursive https://github.com/sergeneren/Volumetric-Path-TracerMind the recursive though because VPT currently has one submodule (cuda-noise) and may have others in the future. “–recursive” flag brings in all the submodules with the VPT.
Another option is to use the latest release to download the prebuilt binaries and just place them in a folder and start rendering. If you wish to do so, you can skip to the usage section in this article but please remember that releases may not be the latest version and things may change rapidly in a developing repo. They also may have bugs and file format changes that may break backwards compatibility. I suggest building VPT from ground up to keep synchronized with the latest commit.
If you choose to build from the repository however there are some preparation work to do. First thing you need to do before building is to create a build environment with all the dependencies. Let see them first.
VPT is currently a Cuda based volumetric path tracer written in C++. So first thing you need to do is to install an appropriate Visual Studio version. I’ve started developing VPT in Visual Studio 2017 and moved to 2019 later. Another essential block is of course Cuda toolkit. You can use the latest Cuda 10.2 Toolkit for build. It is tested and working fine with VPT.
If you take a look at the CMakeLists.txt of VPT you can see it uses C++ and Cuda as the language and all the cuda development environment is set automatically for you inside visual studio.
Another essential key in library and package management in VPT is done by using the microsoft library manager vcpkg. So you need to clone and build vcpkg before building the VPT. Installation and build instructions are given in vcpkg readme page and it should be fairly easy to setup.
When you are done installing vcpkg, next step is to install the required packages to build VPT. However you should note that VPT uses x64 libraries and vcpkg installs x86 libraries as default. You can either specify which triplet to install during vcpkg package install or you can simply create an environment variable to specify a default triplet as:
VCPKG_DEFAULT_TRIPLET=x64-windowsThis ensures that all the packages we install with vcpkg will be x64 by default.
Now you can install libraries that VPT uses with simple commands as:
vcpkg.exe install openvdbThe following libraries has to be installed with vcpkg for building VPT:
If you face any trouble finding a library, you can do a simple search in vcpkg to locate the exact names of the package.
Now that you have vcpkg and all the required packages only dependency left is the CMake application that we will use to automate our VS project creation. You can download the latest CMake from https://cmake.org/.
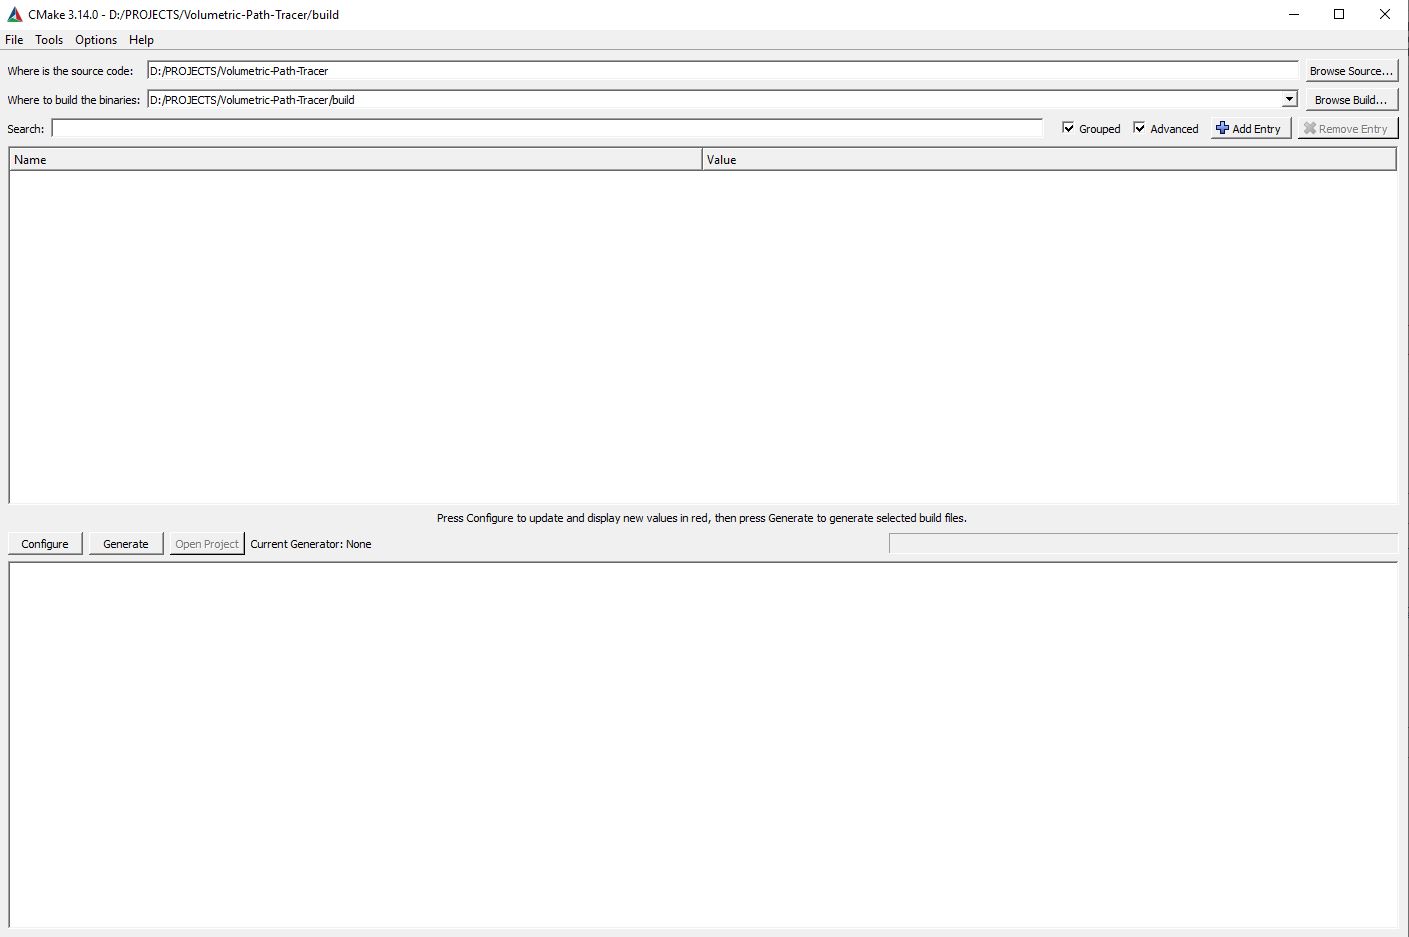
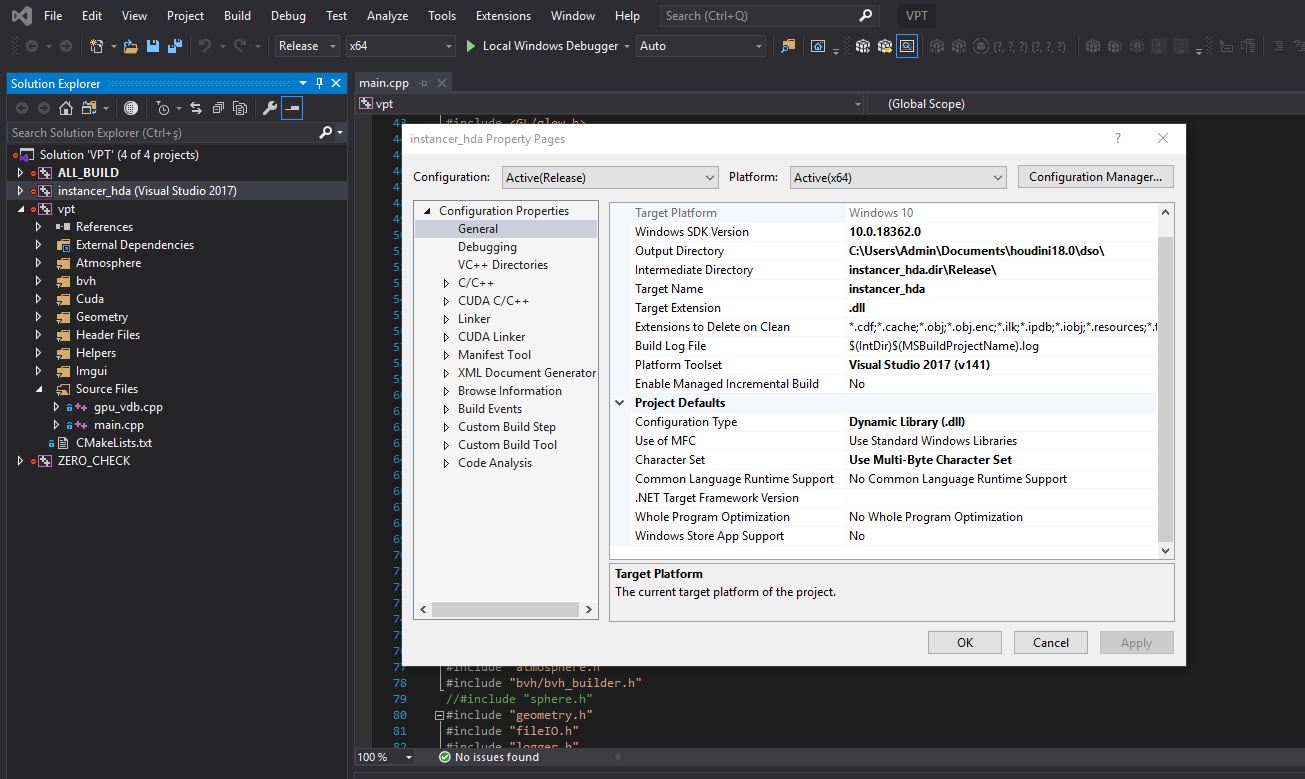
For building VPT we should first start using CMake to create a visual studio solution. I recommend using CMake GUI for build as it gives more clues about build options.
So start by first locating the cloned repository as the source folder and create a build directory where CMake will place our visual studio solution. I recommend creating a folder named “build” in repository.
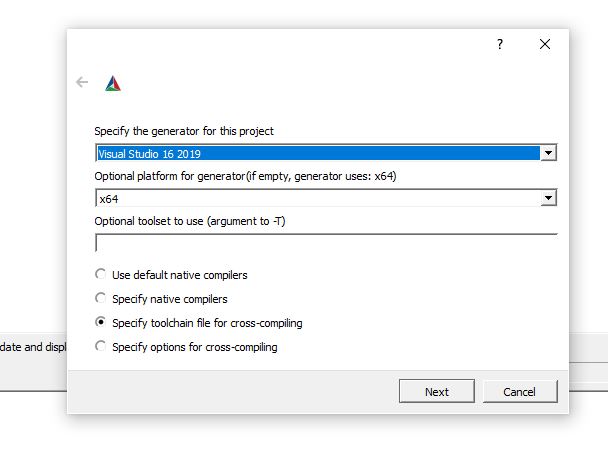
Next, we should configure the project. In the next page you will see the generator depending on your Visual studio version. Choose the latest version you have and specify the x64 platform. One thing you should note is that you have to specify a toolchain file for vcpkg which will come in next step.
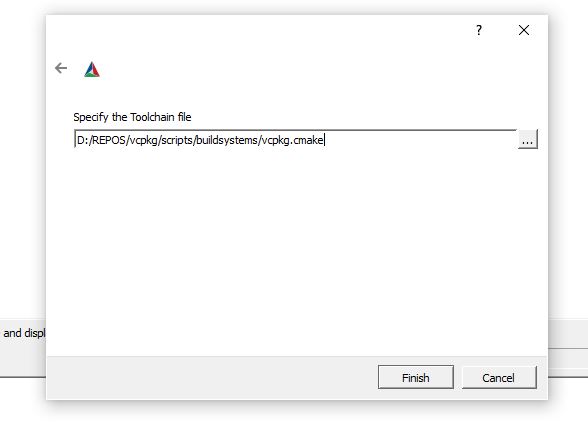
In the next page CMake will ask you to specify a toolchain file. You can direct this to your vcpkg cmake file under “[vcpkg installation folder]/scripts/buildsystems/vcpkg.cmake”. This ensures that our CMakeLists file finds all the appropriate packages automatically.
When you click the finish button CMake will start configuring the VPT project with default arguments. You will see many options that defines how the VPT is configured so let’s go over them one by one.
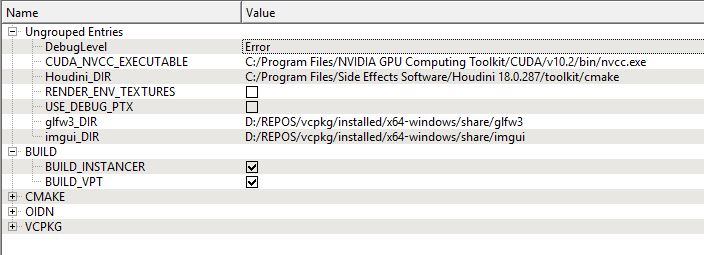
One of the main options you will see is under the BUILD category:
Other options are under Ungrouped Entries
Once the build is complete you are now ready to use VPT. The executable file “vpt.exe”, necessary dlls and ptx files, all the instancing files will be placed in the “bin” folder under “[build folder]/vpt/bin”. Necessary assets will also be placed under this folder. If you’ve built instancer_hda you will also see that “instancer_hda.dll” will be placed under [HOME]/documents/houdini18.0/dso folder.
You can now navigate to the bin folder and start using VPT.
VPT is a command line non-gui renderer. This is subject to change in the future, but for now you have to specify which volume files or environment textures to be rendered by inputting commands in a shell.
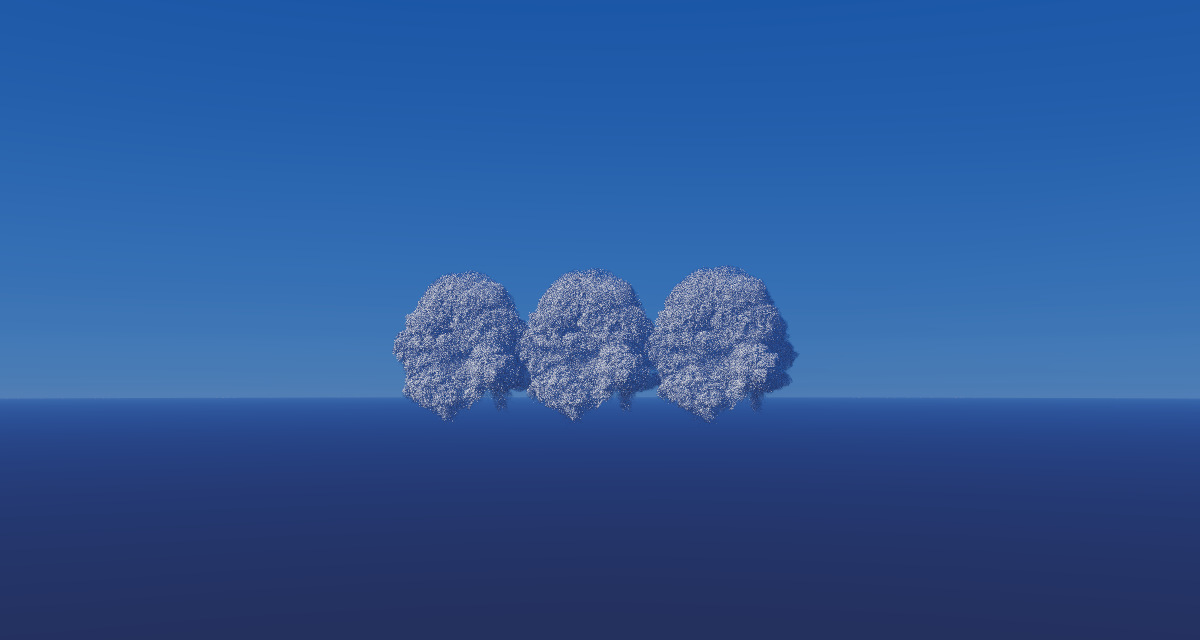
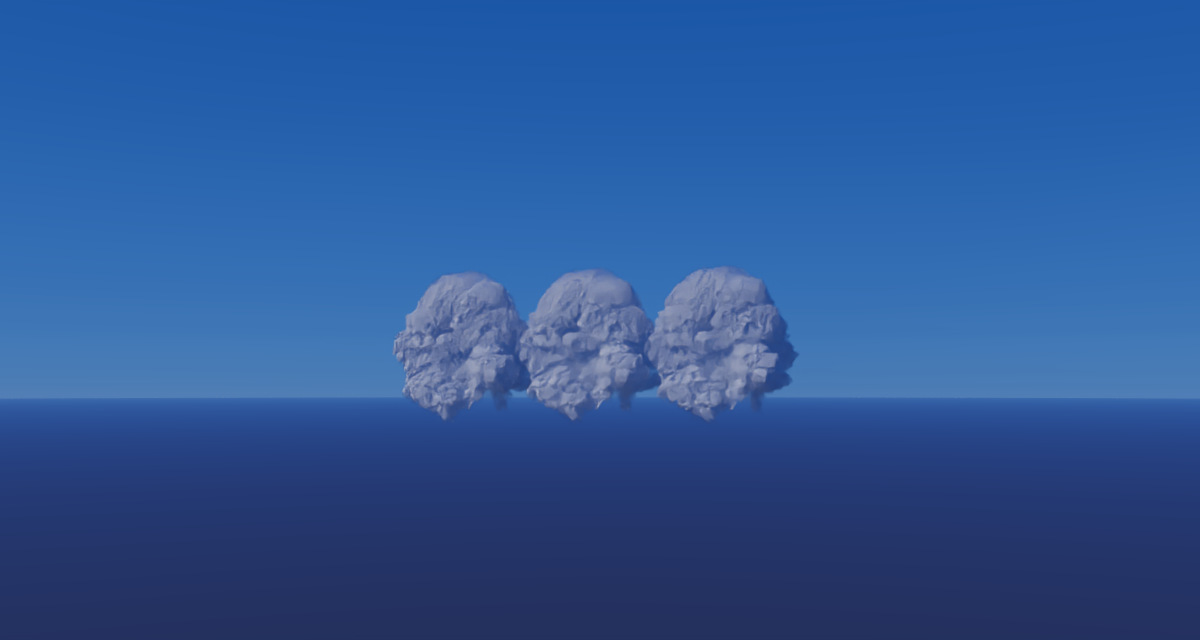
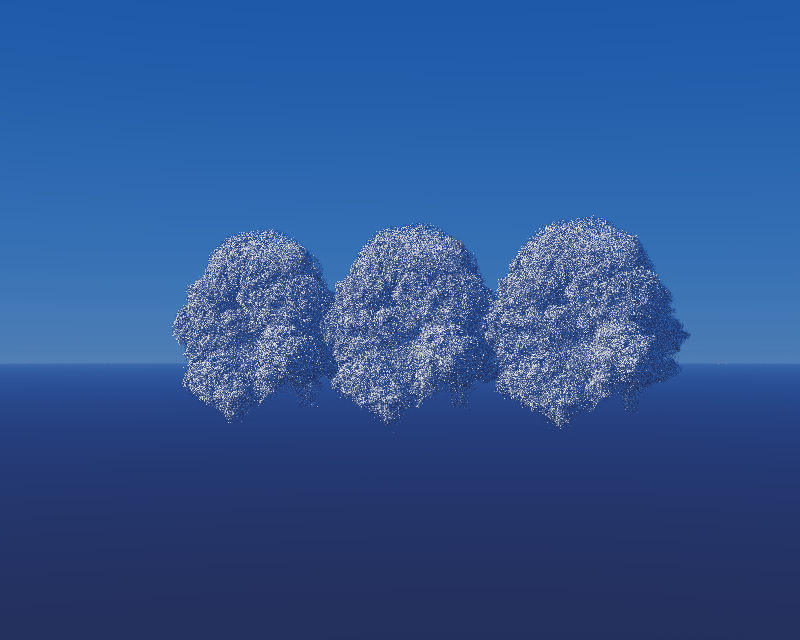
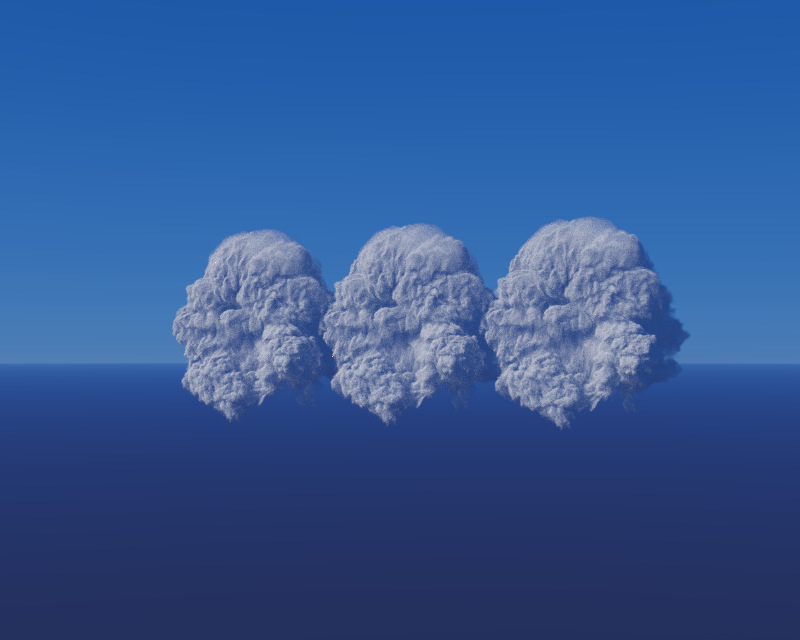
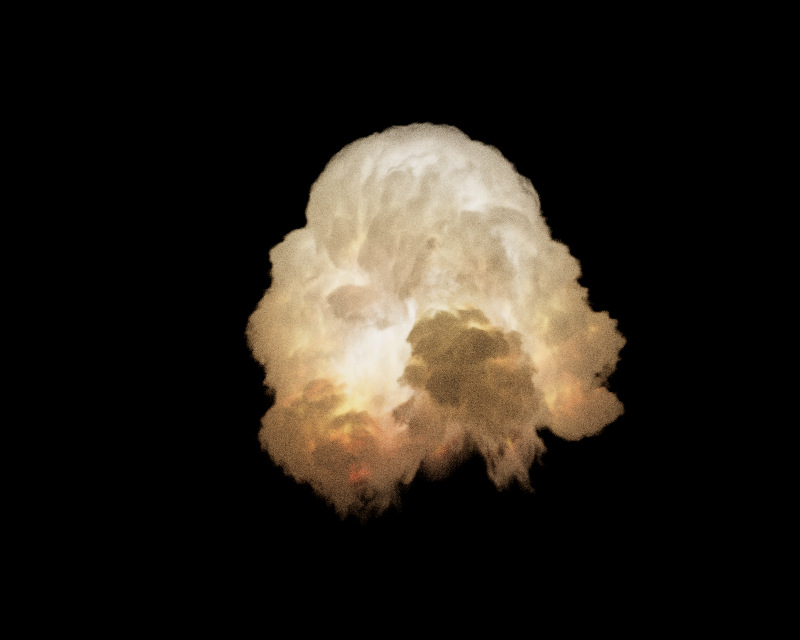
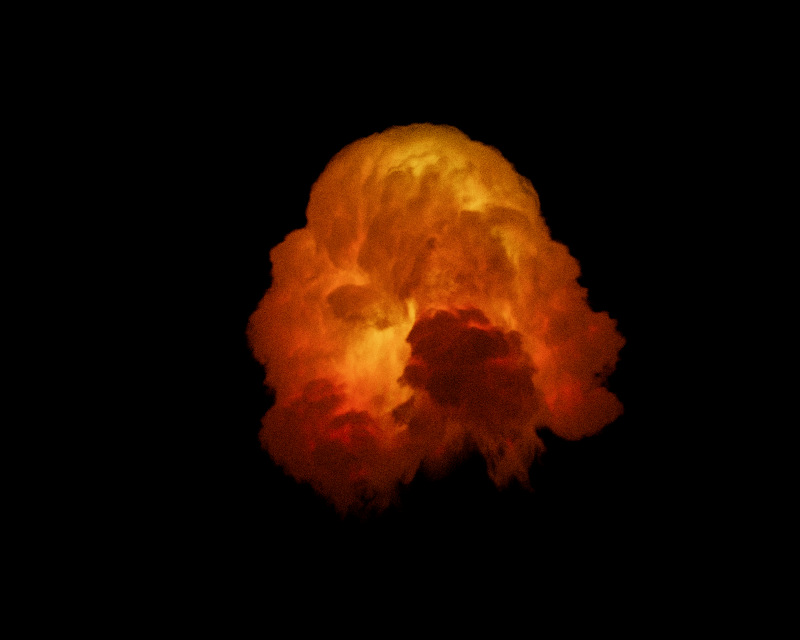
If you have downloaded vpt from a prebuilt release or built it from ground up you will see that a few files come preinstalled (either by CMake or from zip archive). You can quickly run the “test_vpt.cmd” to render an instance file that has three fireball.vdb instances placed side by side. This is a great way to test if your graphics card is compatible and everything is running as it should.
If everything goes well and if you’ve built VPT with Log level verbose, you will see that it outputs lots of information to the command shell. This log keeps valuable information regarding cuda module and function loading, bvh and octree construction, memory usage, errors, warnings and all the things that goes under the hood. So it’s a good idea to keep DebugLevel at log.
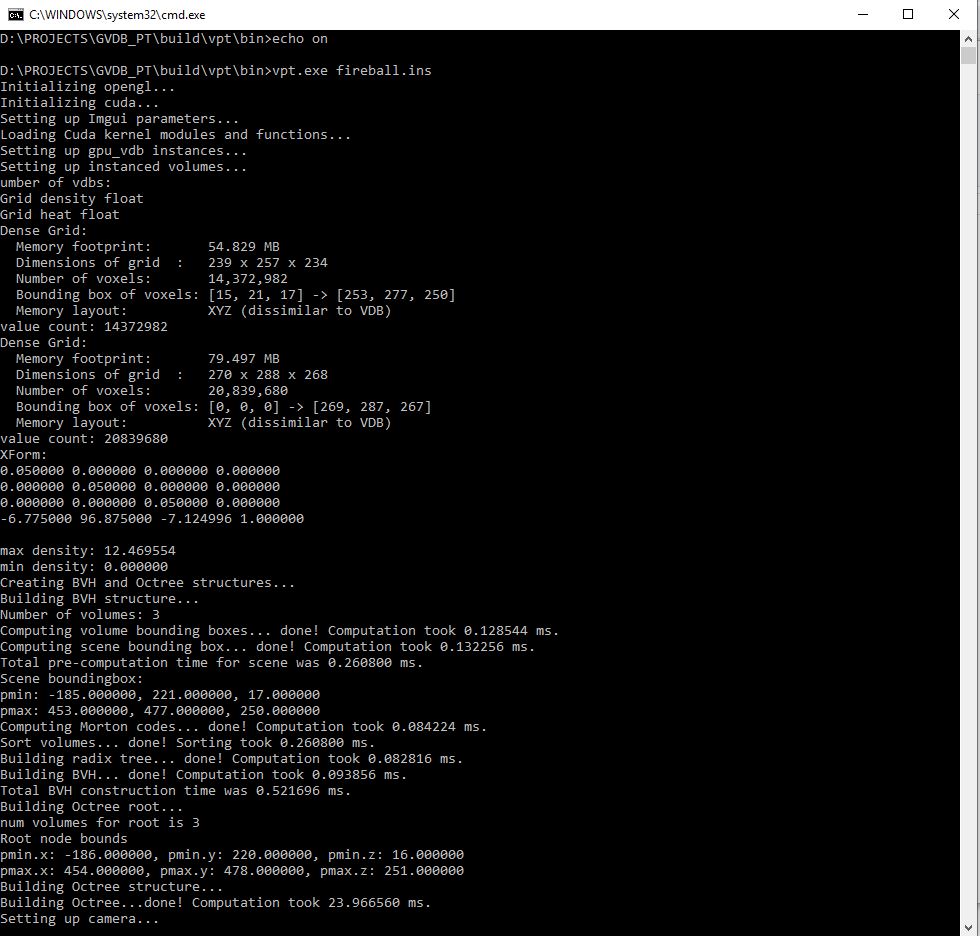
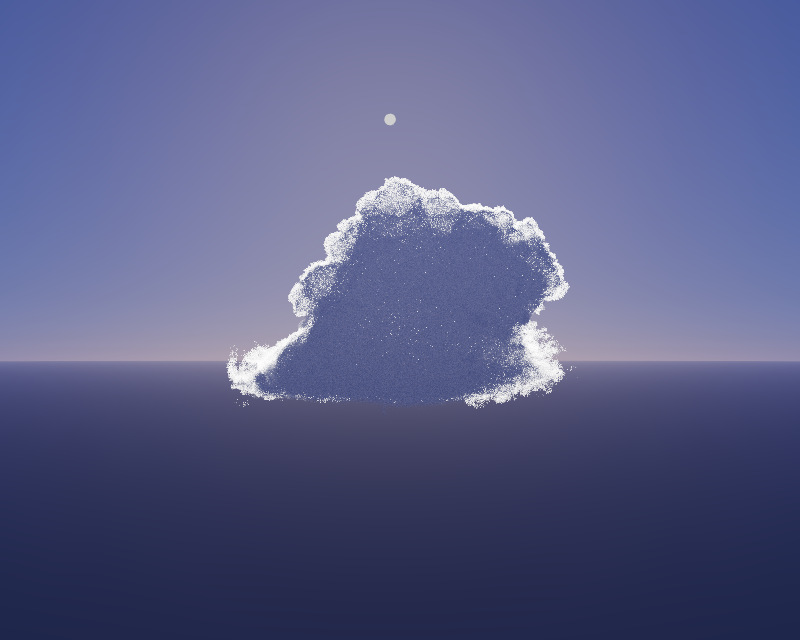
If this is the first time you run VPT, you will notice that it takes quite a long time to start rendering. There is nothing to worry out as it may take some time for VPT to create the procedural atmosphere textures using the functions in “atmosphere_kernels.ptx” file. This files will be loaded automatically next time and you will see that it starts rendering immediately. You can also inspect this files under “atmosphere_textures” folder in the bin directory. Or if you have specified “RENDER_ENV_TEXTURES” you can also see debug files under “atmosphere_textures_debug” folder.
You will also see that VPT creates a “render” folder in the same directory. This is where you can find the resulting saved files.
Now that you are inside VPT rendering window let’s talk about navigation and key shortcuts. When the rendering starts camera position may not always be in the best spot. You can quickly press “F” key to frame all the volumes in the scene which gives you a good starting point to place your camera. Then you can use left mouse button to navigate inside the scene or use the mouse wheel to zoom in and out. You will notice that camera will never dive inside the planetary surface to avoid rendering artifacts.
When VPT reaches a defined number of samples rendering will stop and a file will be saved to the “render” folder. You can also save a file in between by using the “S” key. You can also use the “C” key to save a cost file that saves the sampling cost used for debugging purposes. You can also change the camera FOV by using the “-” and “+” keys of your keyboard.
When you are done with rendering, you can either use the “ESC” key or simply close the application.
Now let’s look at the command line arguments that you can pass to VPT. The first argument will always be the vpt executable itself:
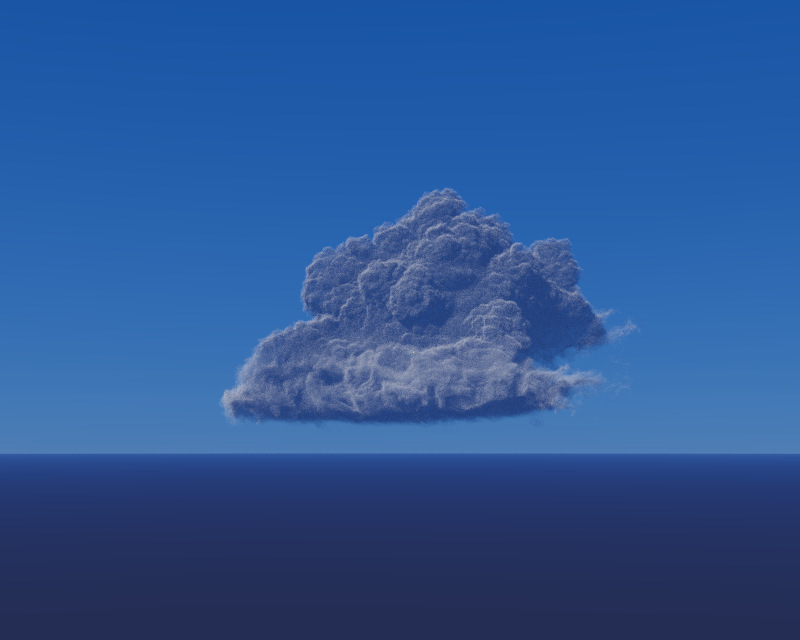
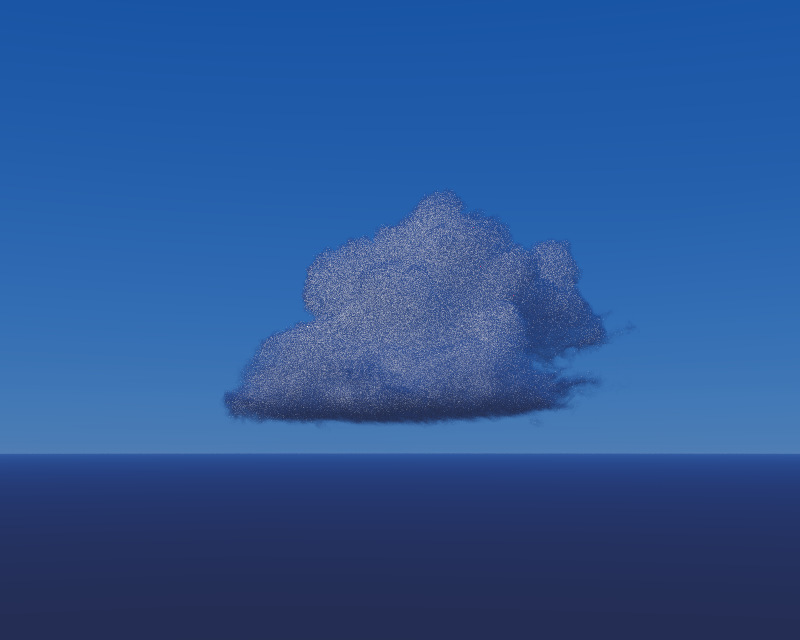
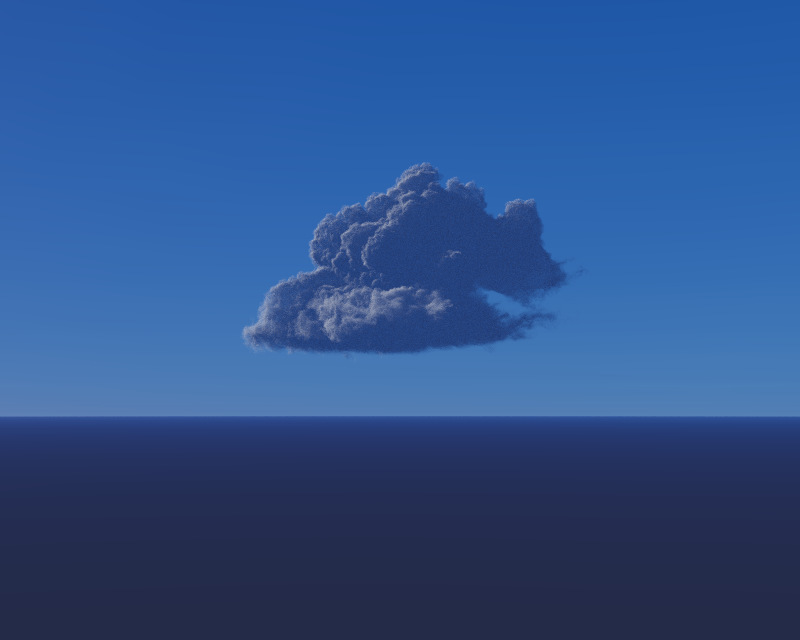
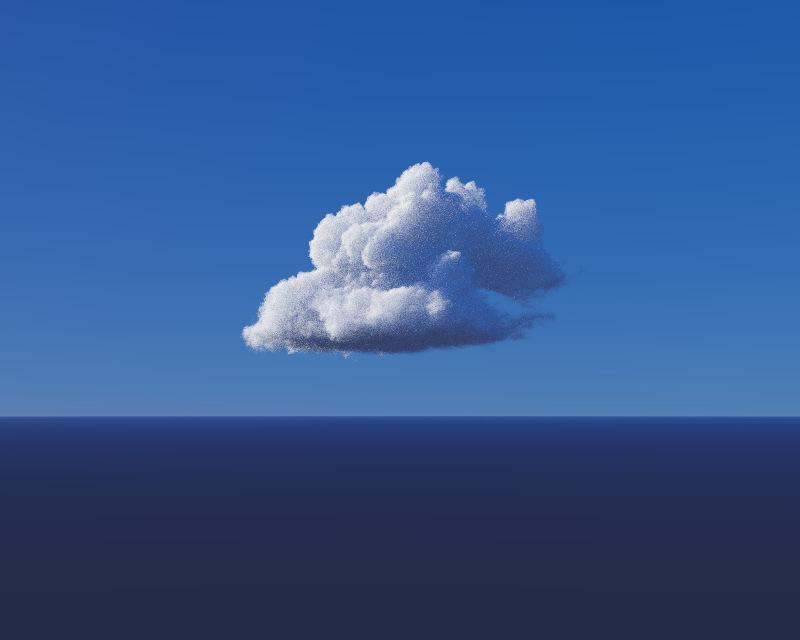
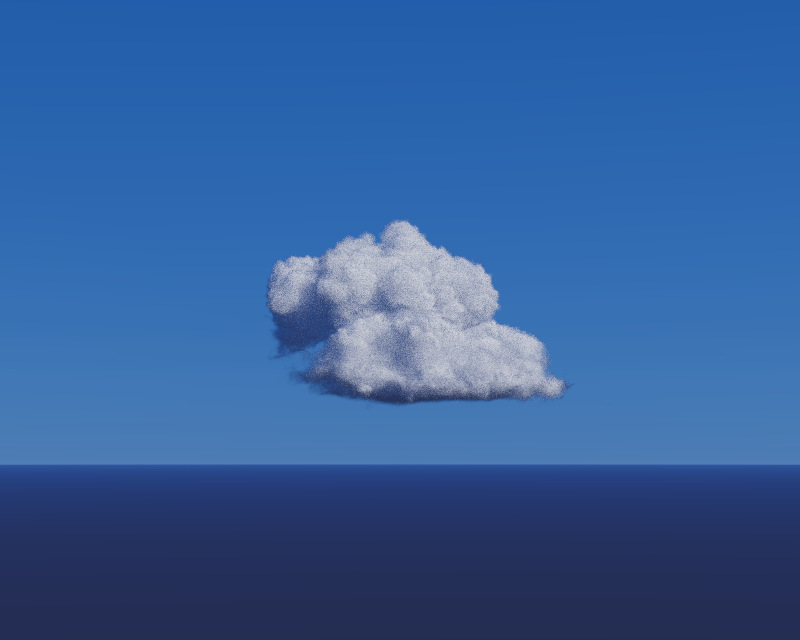
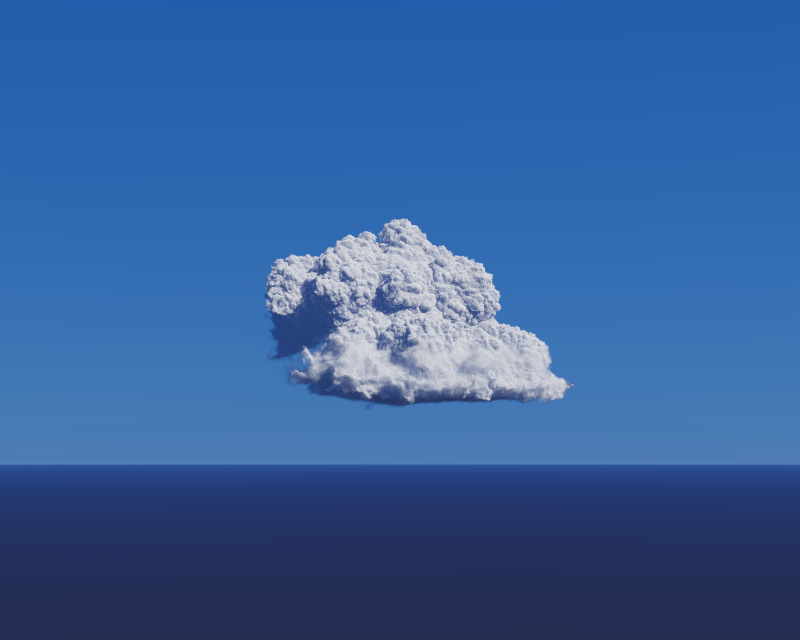
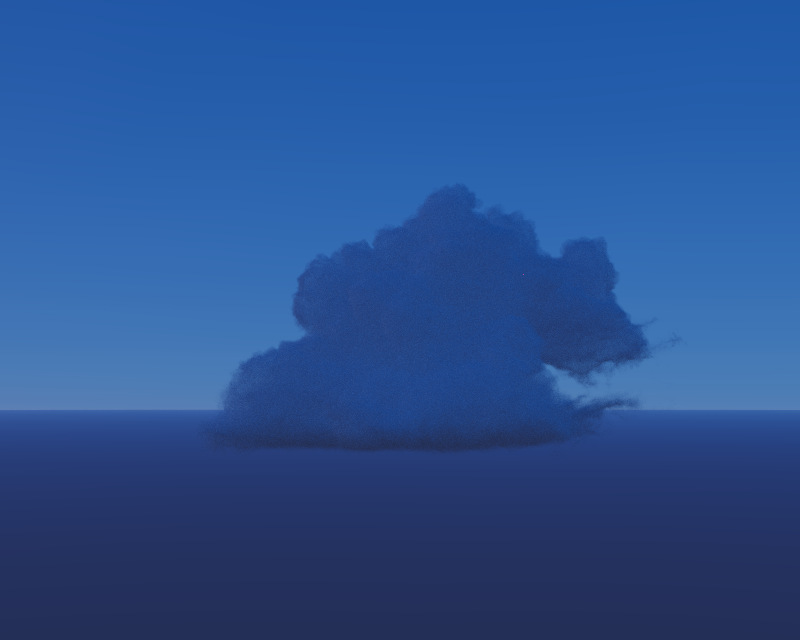
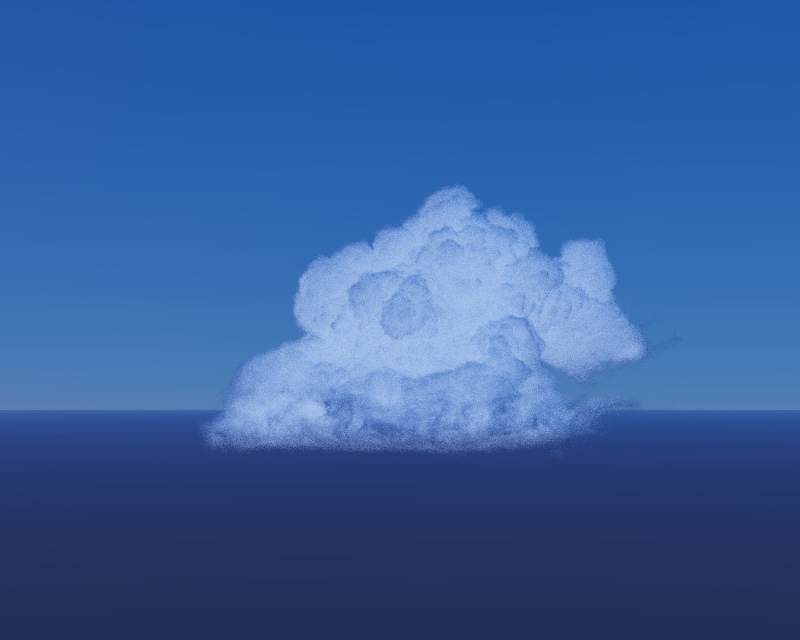
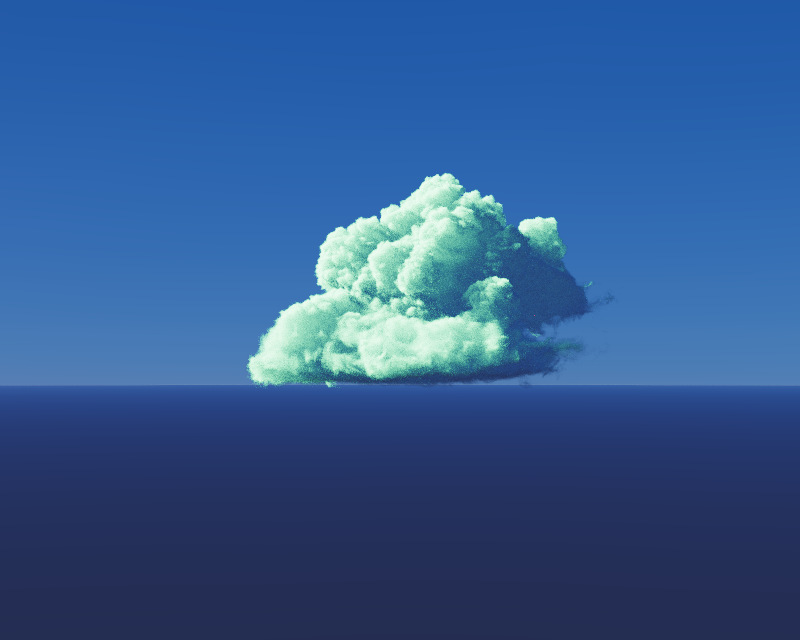
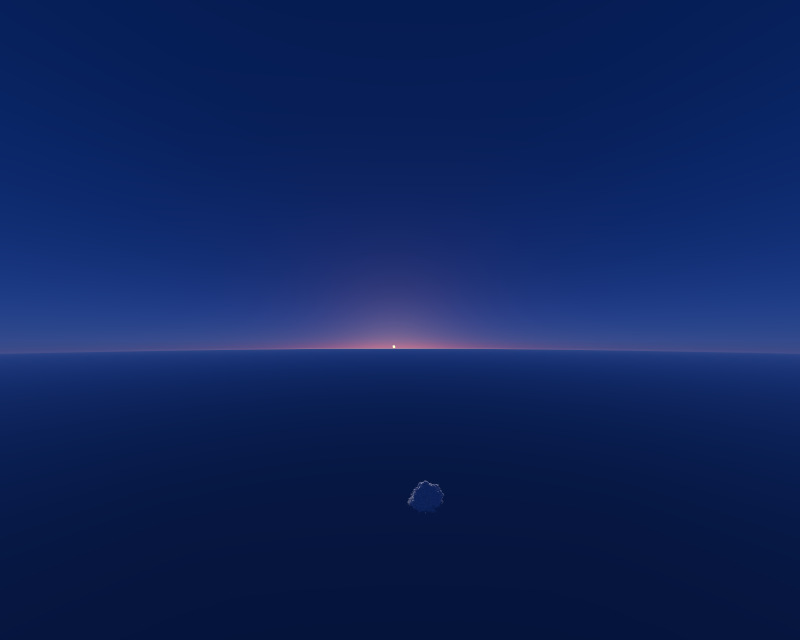
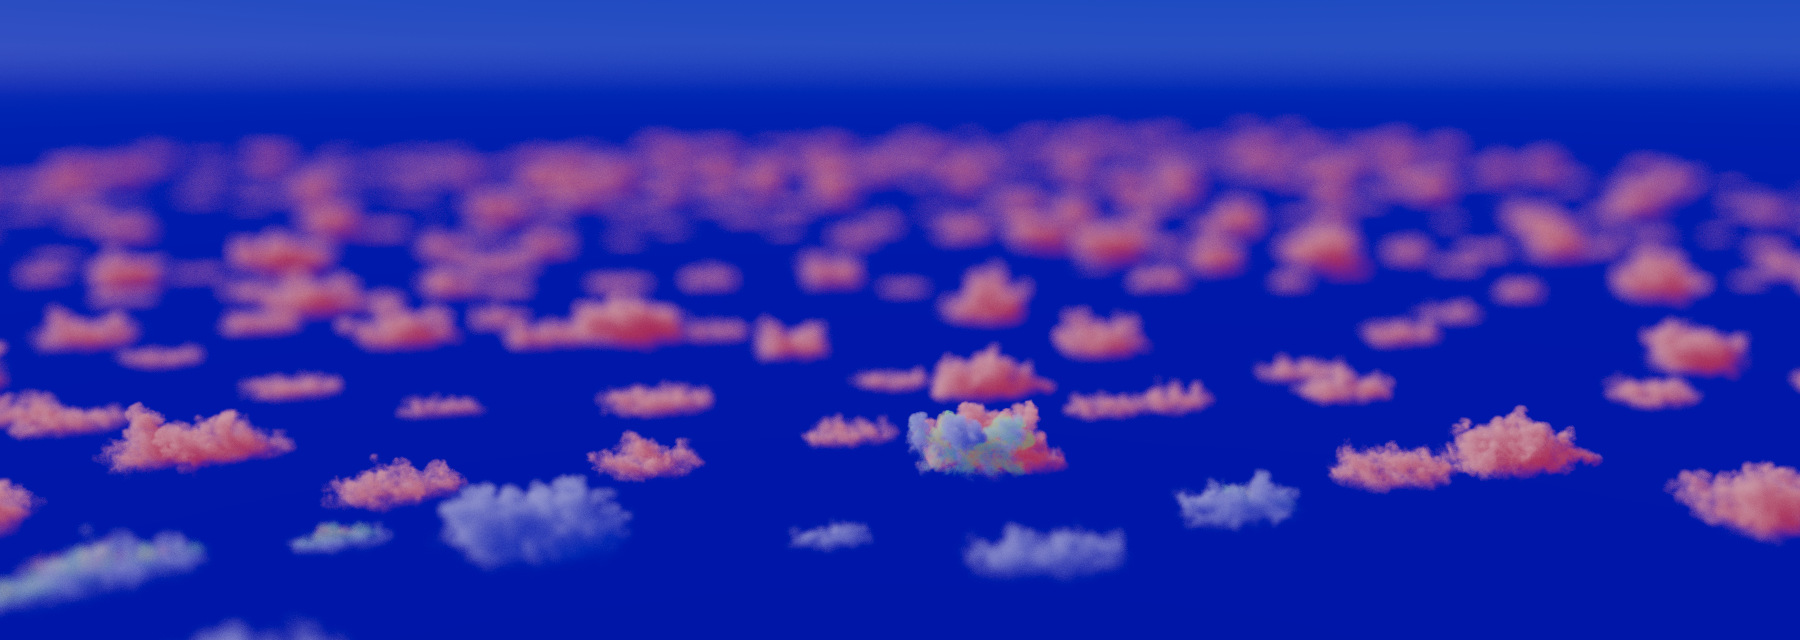
.\vpt.exeWithout the extra parameters this option allows you to see the barebones of the VPT. It creates a procedural noise based volume and renders it using a procedural atmosphere.

Another option is to use VPT with a point light instance file. This files are written by instancer_hda plugin and is in the format of “.ins”. Using the houdini plugin will be explained later in this section. You can specify a light instance file as:
.\vpt.exe light.insThis will load the point light instances and load up a procedural noise volume.
For environment texture light if you wish to use a custom hdri file you can specify it as the third argument. There are couple .hdr files under the assets directory and specifying a name will automatically pull one from the assets:
.\vpt.exe fireball.ins Barce_Rooftop_C_3k.hdr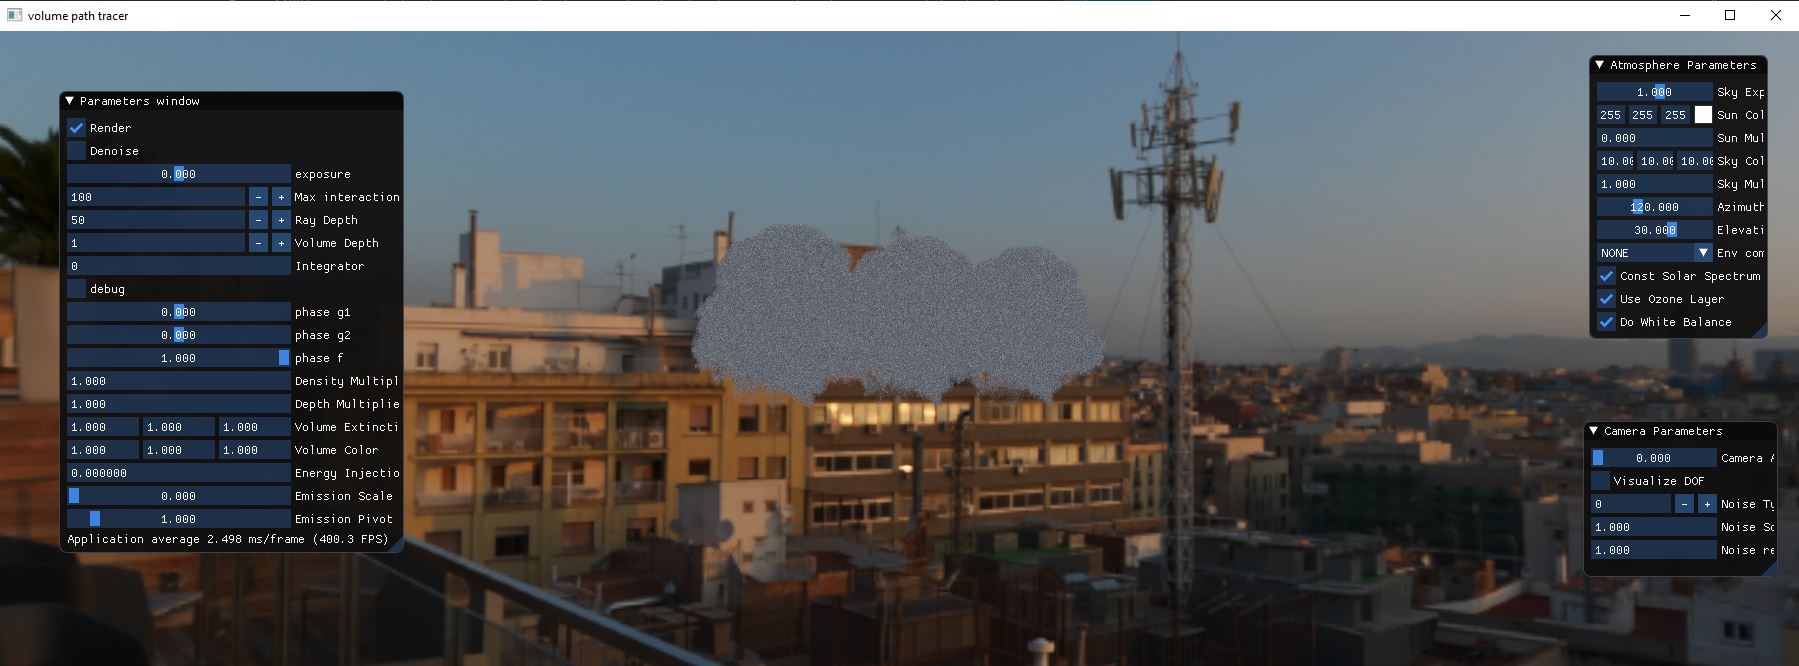
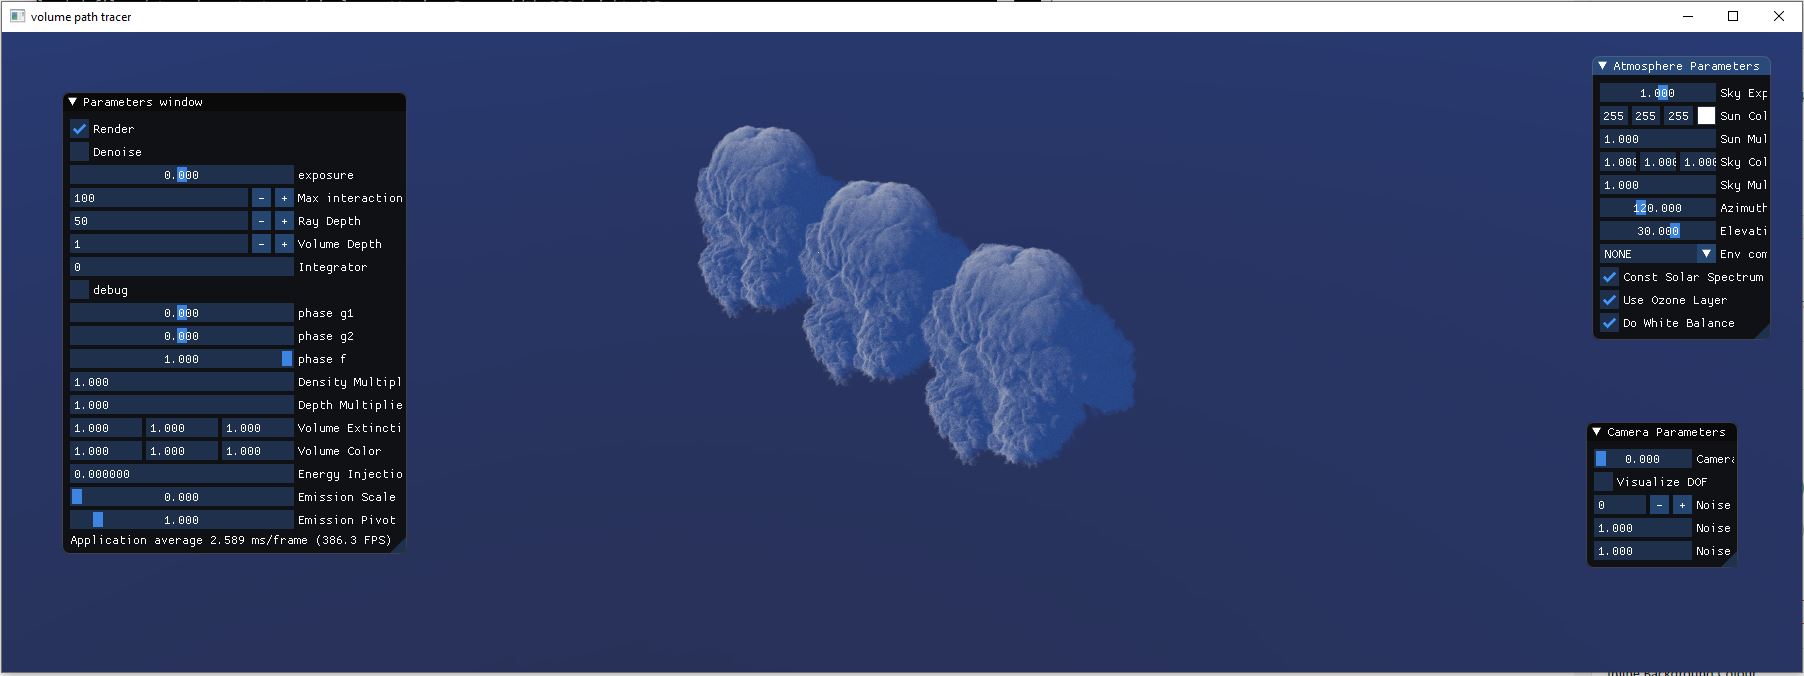
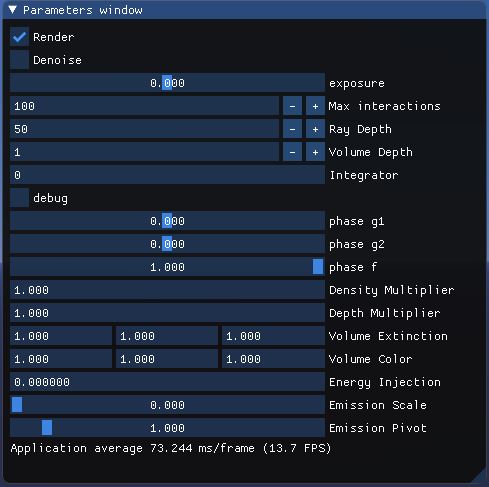
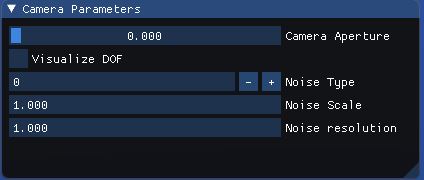
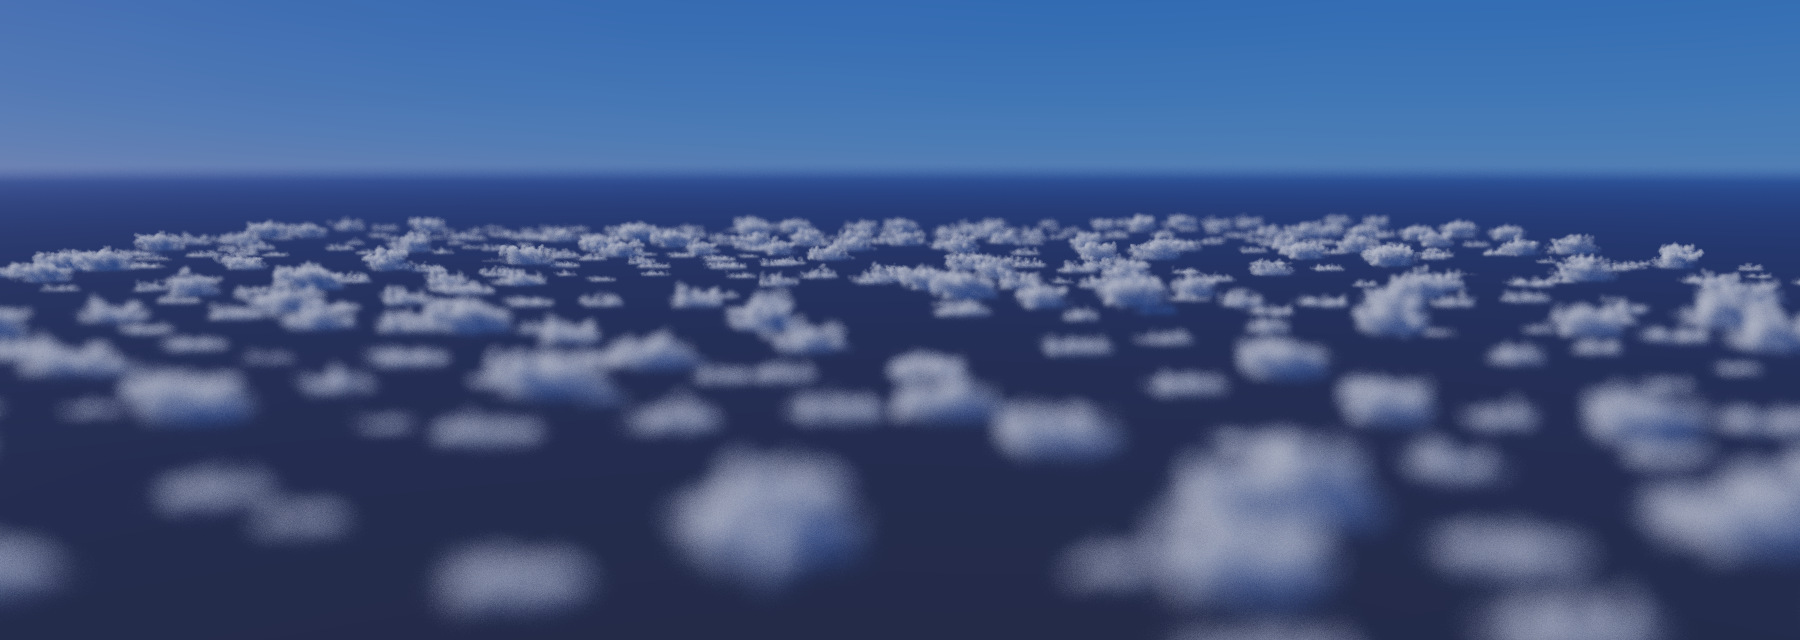
Currently three GUIs live inside the VPT to help you with the lighting, rendering and shading contexts. In this section we will be going over them one by one so you can understand what each parameter does.

Instancer_hda is a houdini plugin that lets you export volume or point light instances to be used with VPT. We already covered building the instancer hda so let’s take a look at using the plugin for writing out volume instances and point light instances.
Instancer hda writes out volume instances bound to points to a custom file format (.ins) that VPT can use to create instanced gpu vdb objects and render. To be able to write out volume instances however a couple point attributes should be present.
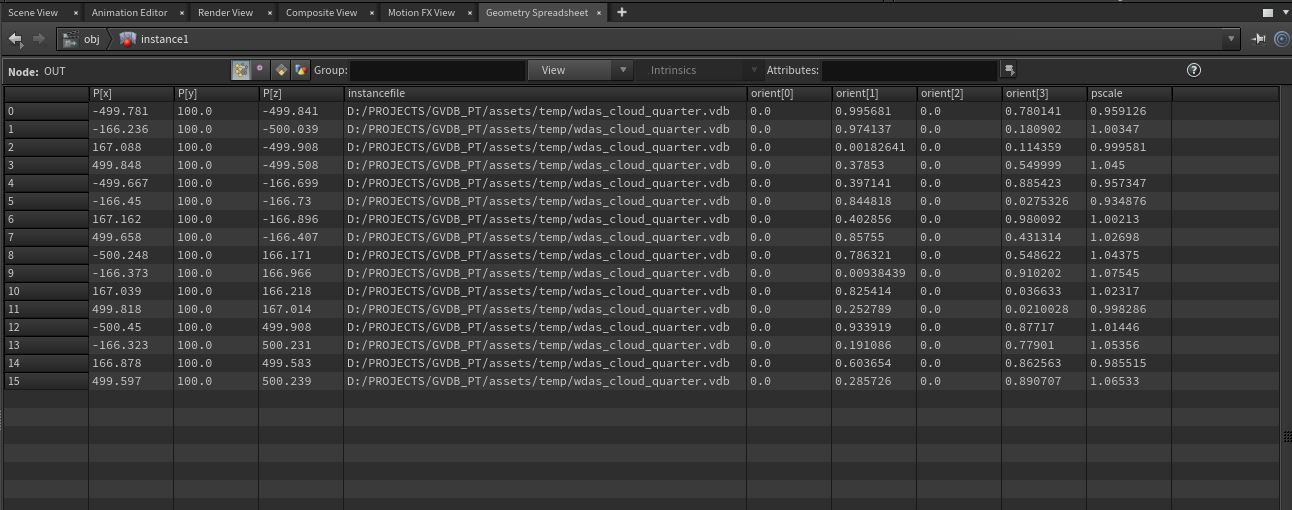
The most important attribute is the “instancefile” attribute that specifies the vdb file that it will be instanced. These files are collected in a string vector and sorted until they are all each unique variables and instanced accordingly.
For translations point positions are used and transformation matrices of the instances are set to represent this translation
For rotations a couple options are present. If an “orient” attribute is present, it takes the top priority and transform matrix is constructed with it. If “rot” attribute is present it precedes other attributes if orient attribute is missing. If “N” and “up” are present they are used to construct a quaternion and used in transform matrix. If none are present an identity rotation matrix is applied.
For scale, instancer plugin uses “pscale” float attribute.
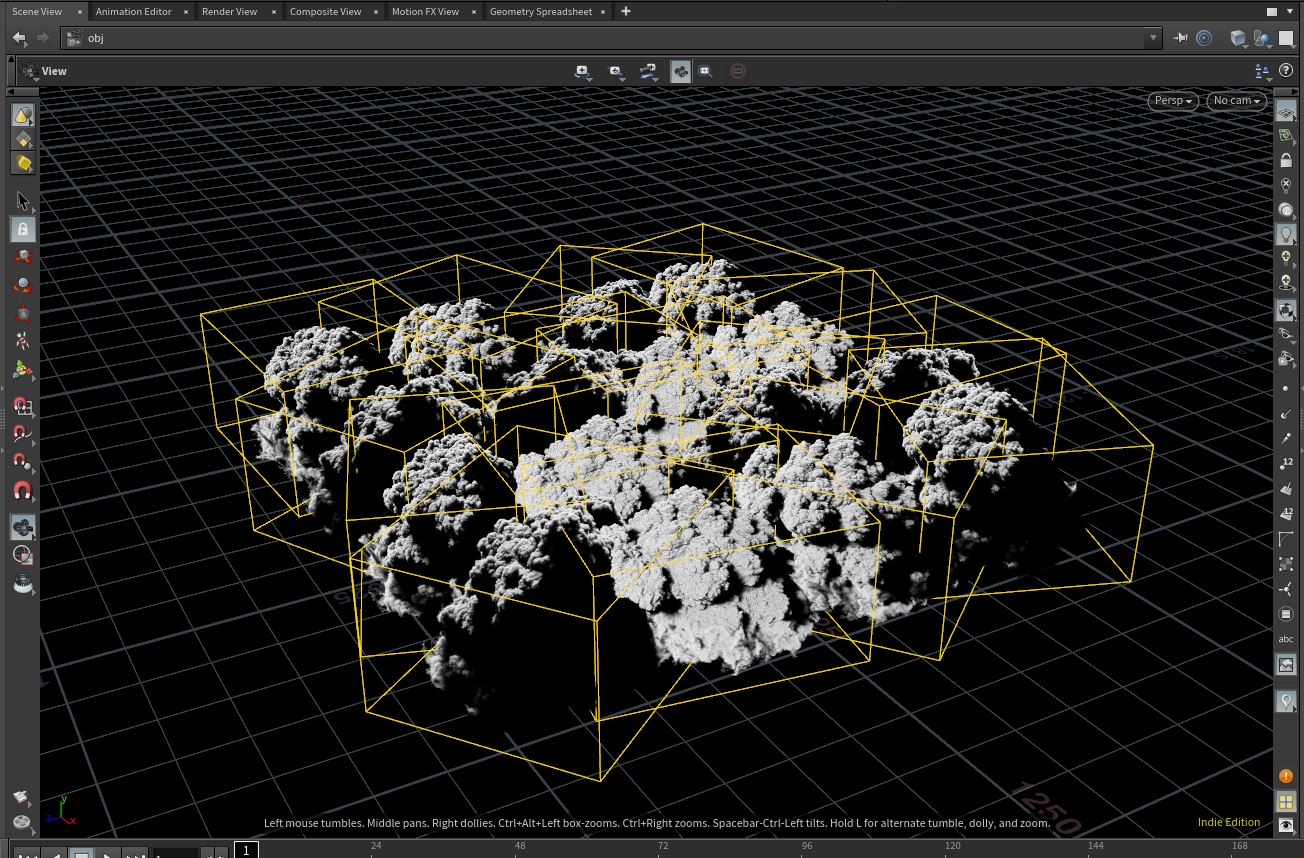
If you think however you need to visualize the volumes before writing to a file, Houdini is smart enough to understand that you are using instances with “instancefile” attribute and visualizes the vdb files in the viewport. All you need to do is to create your instance points in an “instance” geometry node.
To be able to export point light instances, you can follow the same principle in volume instancing but point attributes will be different. You need to provide color information as “Cd” attribute, and a “power” attribute to set the power of the point light.
Now all you need to do to write point lights is to check the box “Render Light Instances” in “VPT Instance” ROP Node and write out a .ins file. VPT will pick up this file and understand that it is a point light instance file and fill the light list accordingly.
If you face any trouble in any point in this guide, please remember that VPT has a bug reporting system you can find here. You can create a new issue to report any bugs, build problems or misinformation regarding documentation.
Please bear in mind though this is a rapid developing library and things are subject to change. Thank you for taking time to try VPT and I hope you find it useful and educational.
Building a physically based atmospheric renderer without precomputation
Learn how to create a path tracer using houdini particles
Integrating Nvidia GVDB to our path tracer