Bubbleᴴ, A Soap Film Solver
Introducing the Bubbleᴴ, A wrapper for siggraph paper "Double Bubble Sans Toil and Trouble"

In this part of the “Cloud Modelling” series we will be exploring how we can create high altitude clouds. What I mean by high altitude is defined as clouds residing between 5 to 15 kilometers. We won’t be focusing on very high altitude clouds like Nacreous or Nocilucent cloud types.
During the layout of a shot we usually see these clouds in the background of low altitude clouds, and creating them is almost always the job of the compositor. That’s why I’ve seen very little love is given to these clouds but there may come a point where you may need to create these assets for a specific shot or environment.
Because of stable winds and low air turbulence in higher altitudes we start to see less features in this clouds. And because they generally cover very large areas, patterns start to emerge.
And what does a CG artist do when they see patterns?
When you look at nature and start to see patterns, the best way to imitate it, is to usually use noise textures. The clouds we will be creating today cover huge areas in the sky and it would be a waste to use our computing resources on simulating them.
We will retain the general voxel based creation of clouds but instead of dynamically simulating them we will fill (or not fill) those voxels using native noise textures. (with an exception on cirrus clouds). The continuous nature of the noise textures provides us simple mathematical operations to add or multiply them, so we can mix and match our clouds to our liking.
So without further ado let’s begin!
All the cloud setups you will see in this article are now included in the “Houdini Cloud Modelling Pack”. You can purchase them individually or as a whole pack at my gumroad page.
 CC BY-SA 3.0, https://commons.wikimedia.org/w/index.php?curid=100381
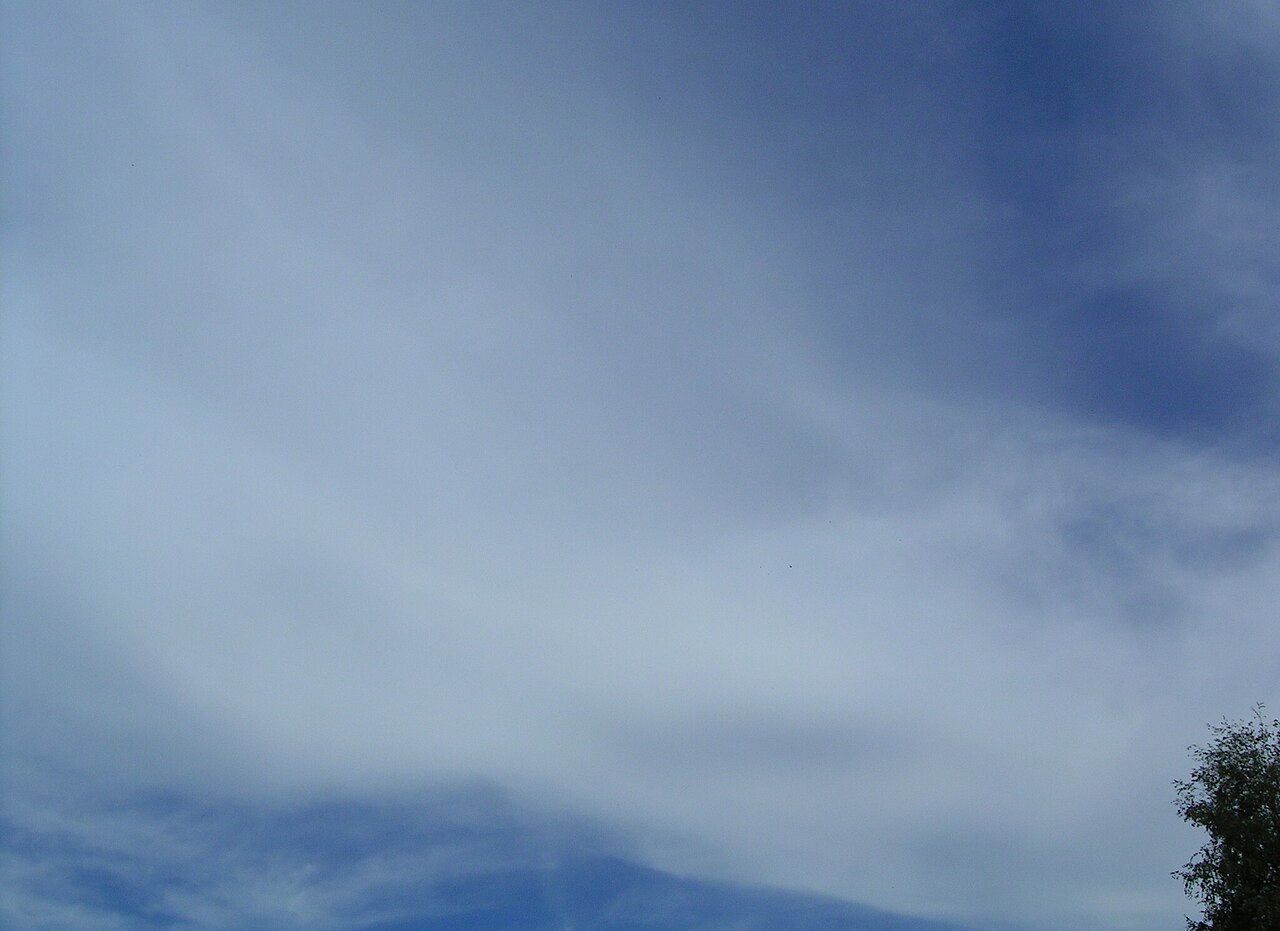
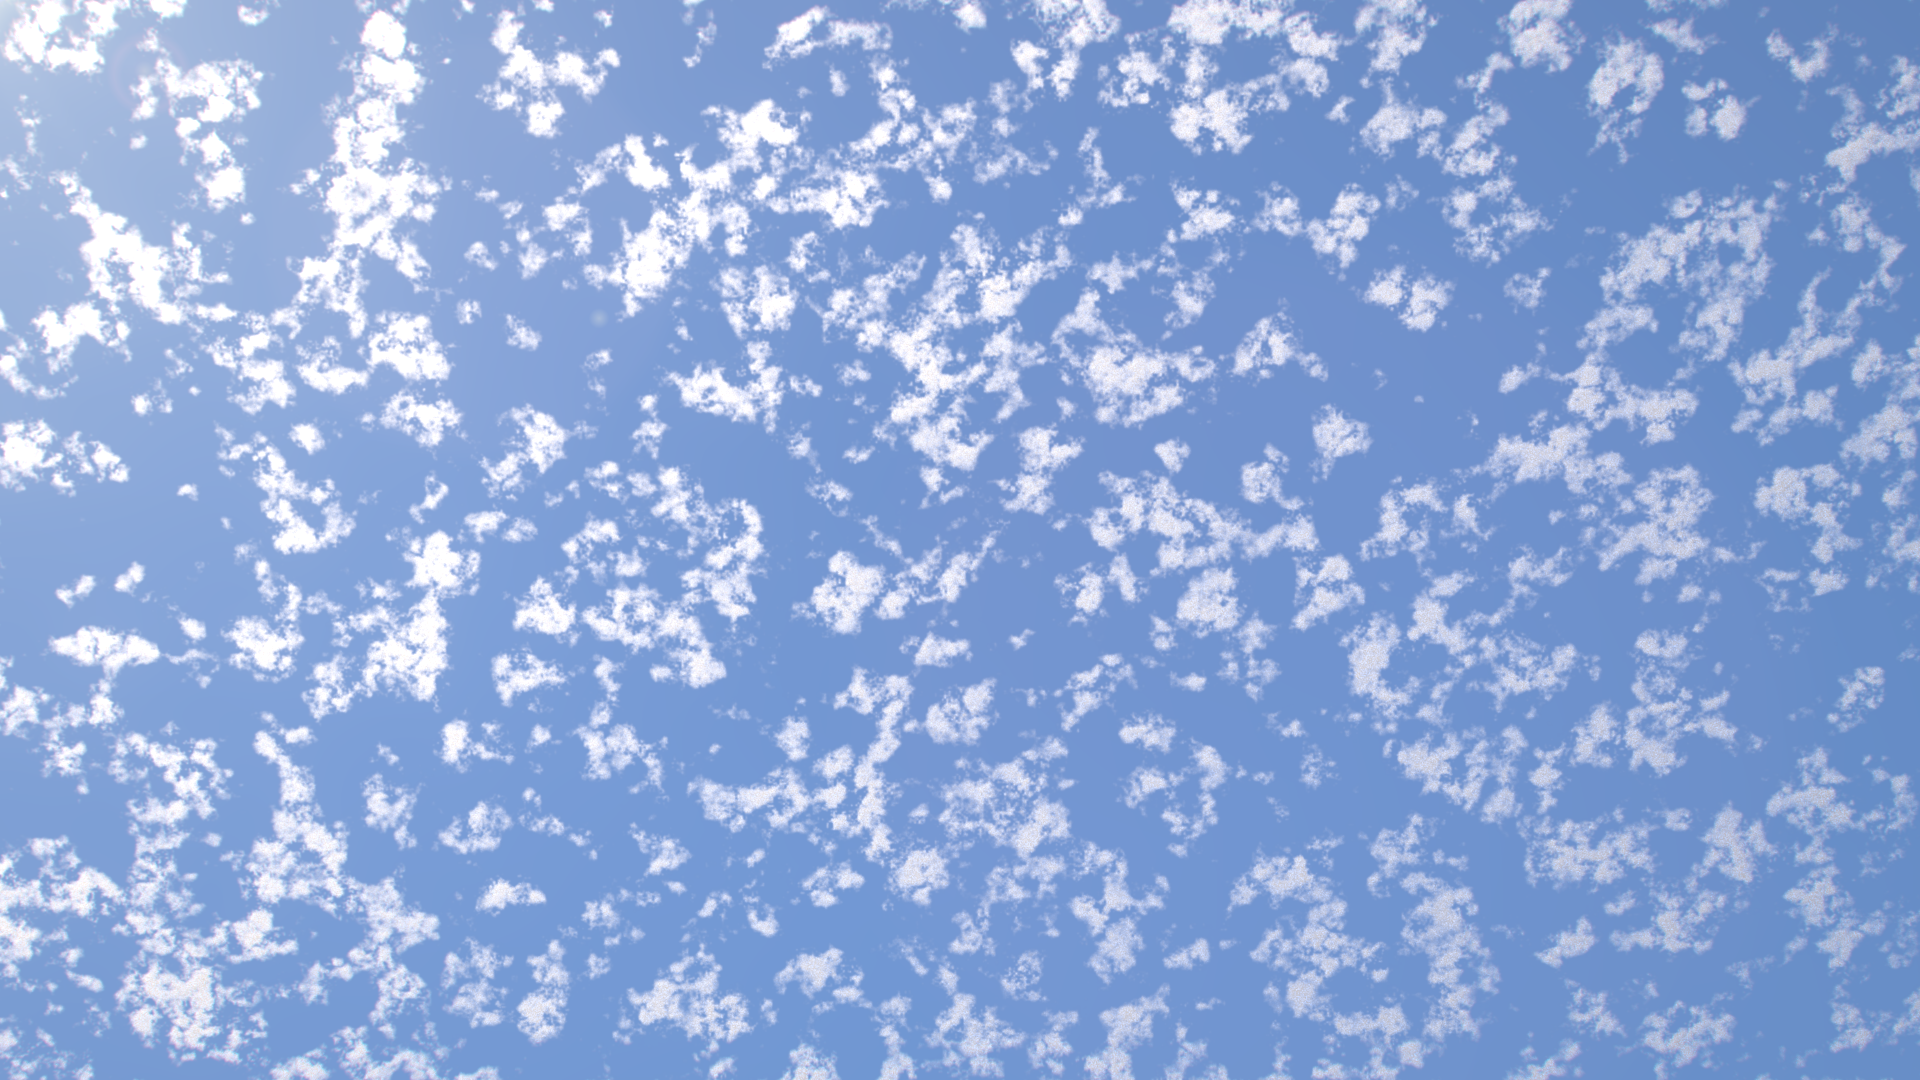
Cirrostratus clouds are a very thin layer of ice crystals usually located in 5.5 kilometers above the surface. They usually start with having featureless layer (Cirrostratus nebulosus) and may turn into a fibrous layer (Cirrostratus fibratus) if the leading wind is weak on the front.
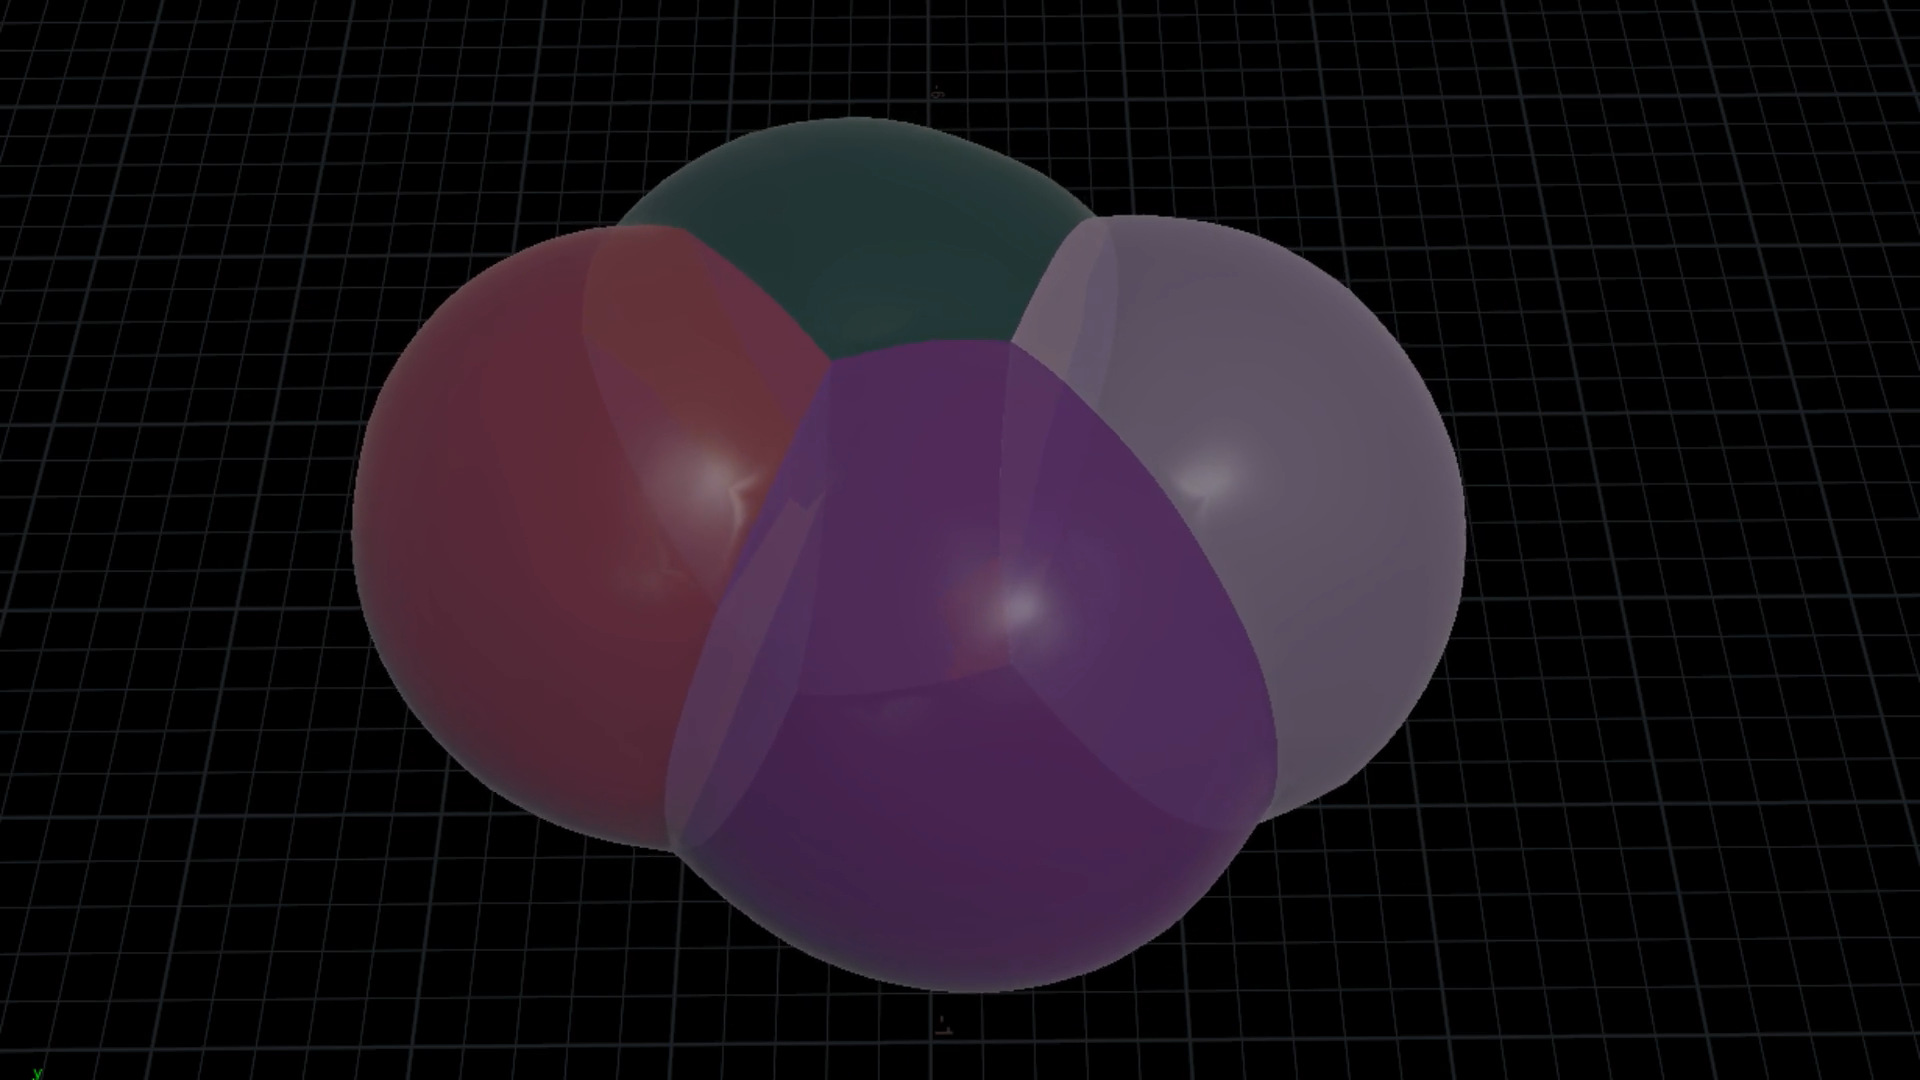
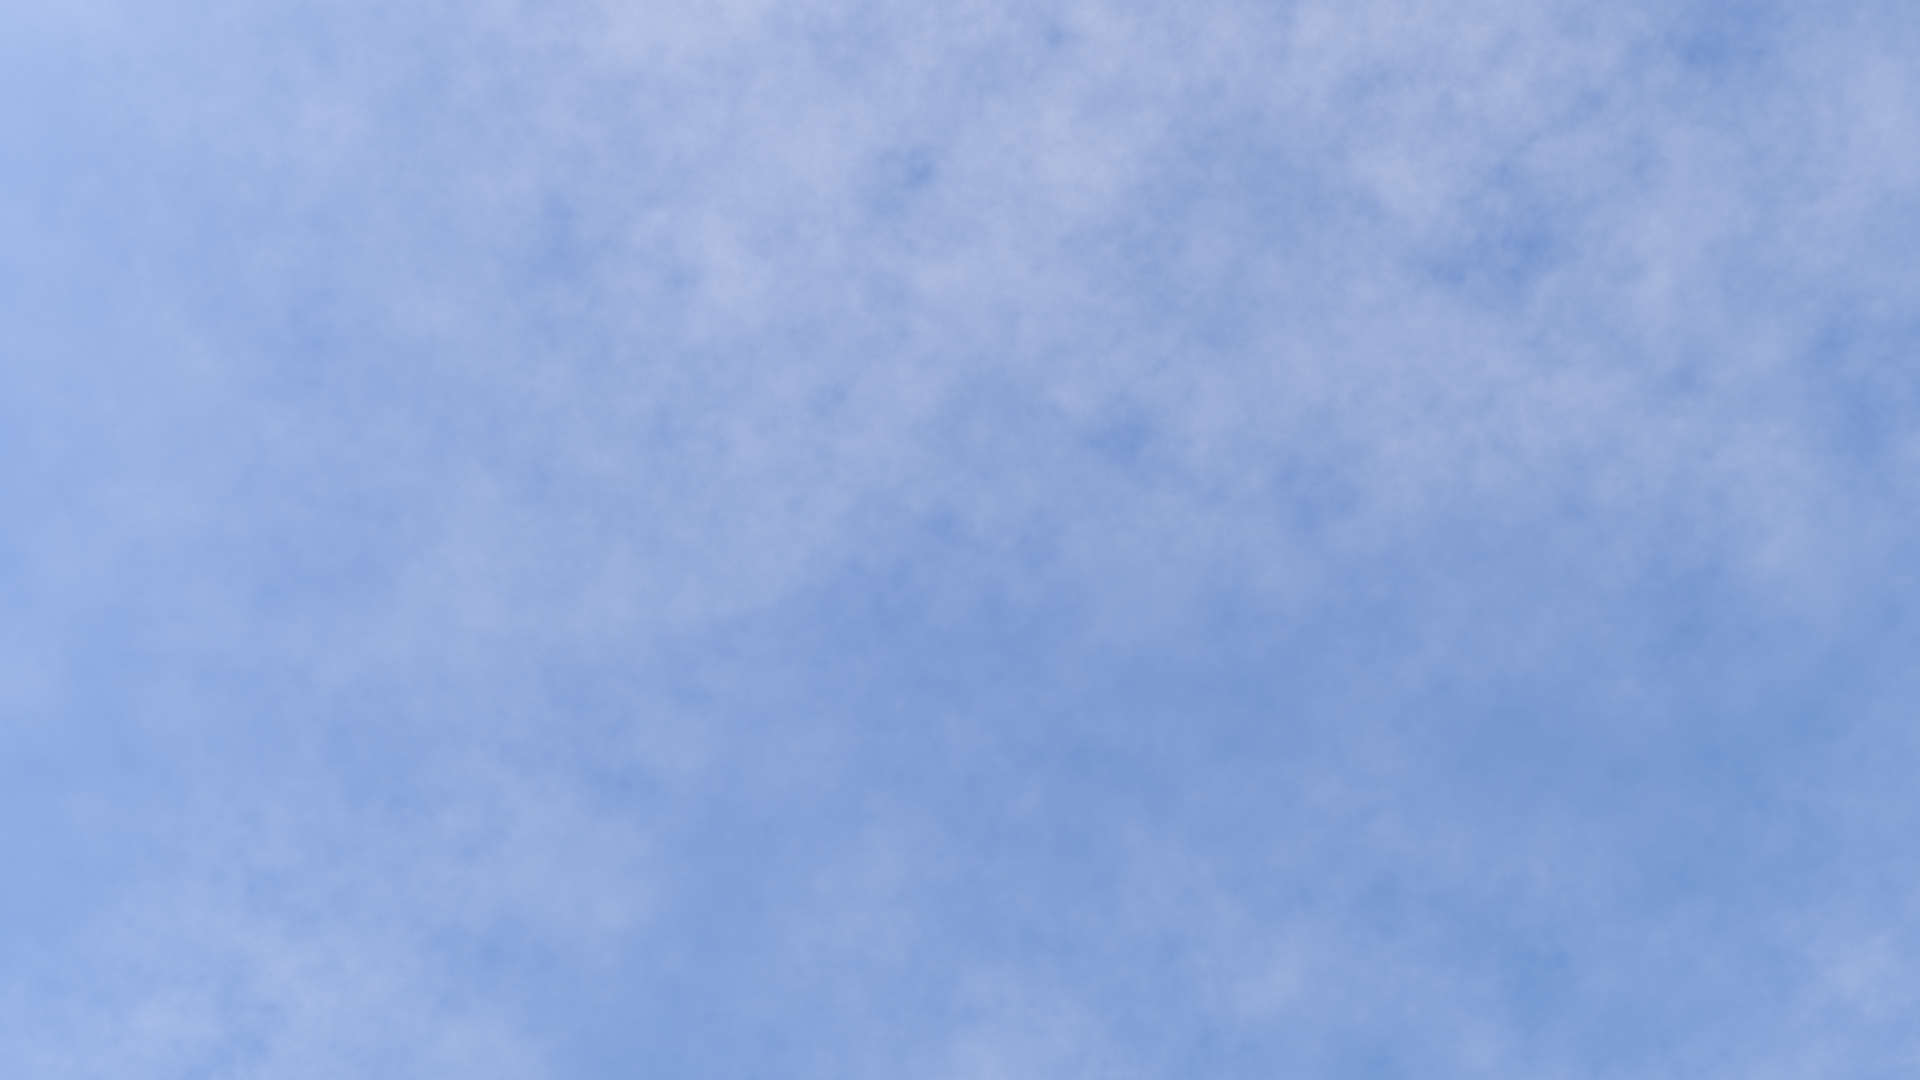
For a simple start we can use a box with a very little height and convert it to fog vdb. We will use “Volume VOP” node to do all our texturing.
A turbulent noise VOP is a very good way to to simulate the semi-fractal appearance. Using sparse-convolution noise with a high turbulence and roughness will be enough to simulate a simple cloud layer.
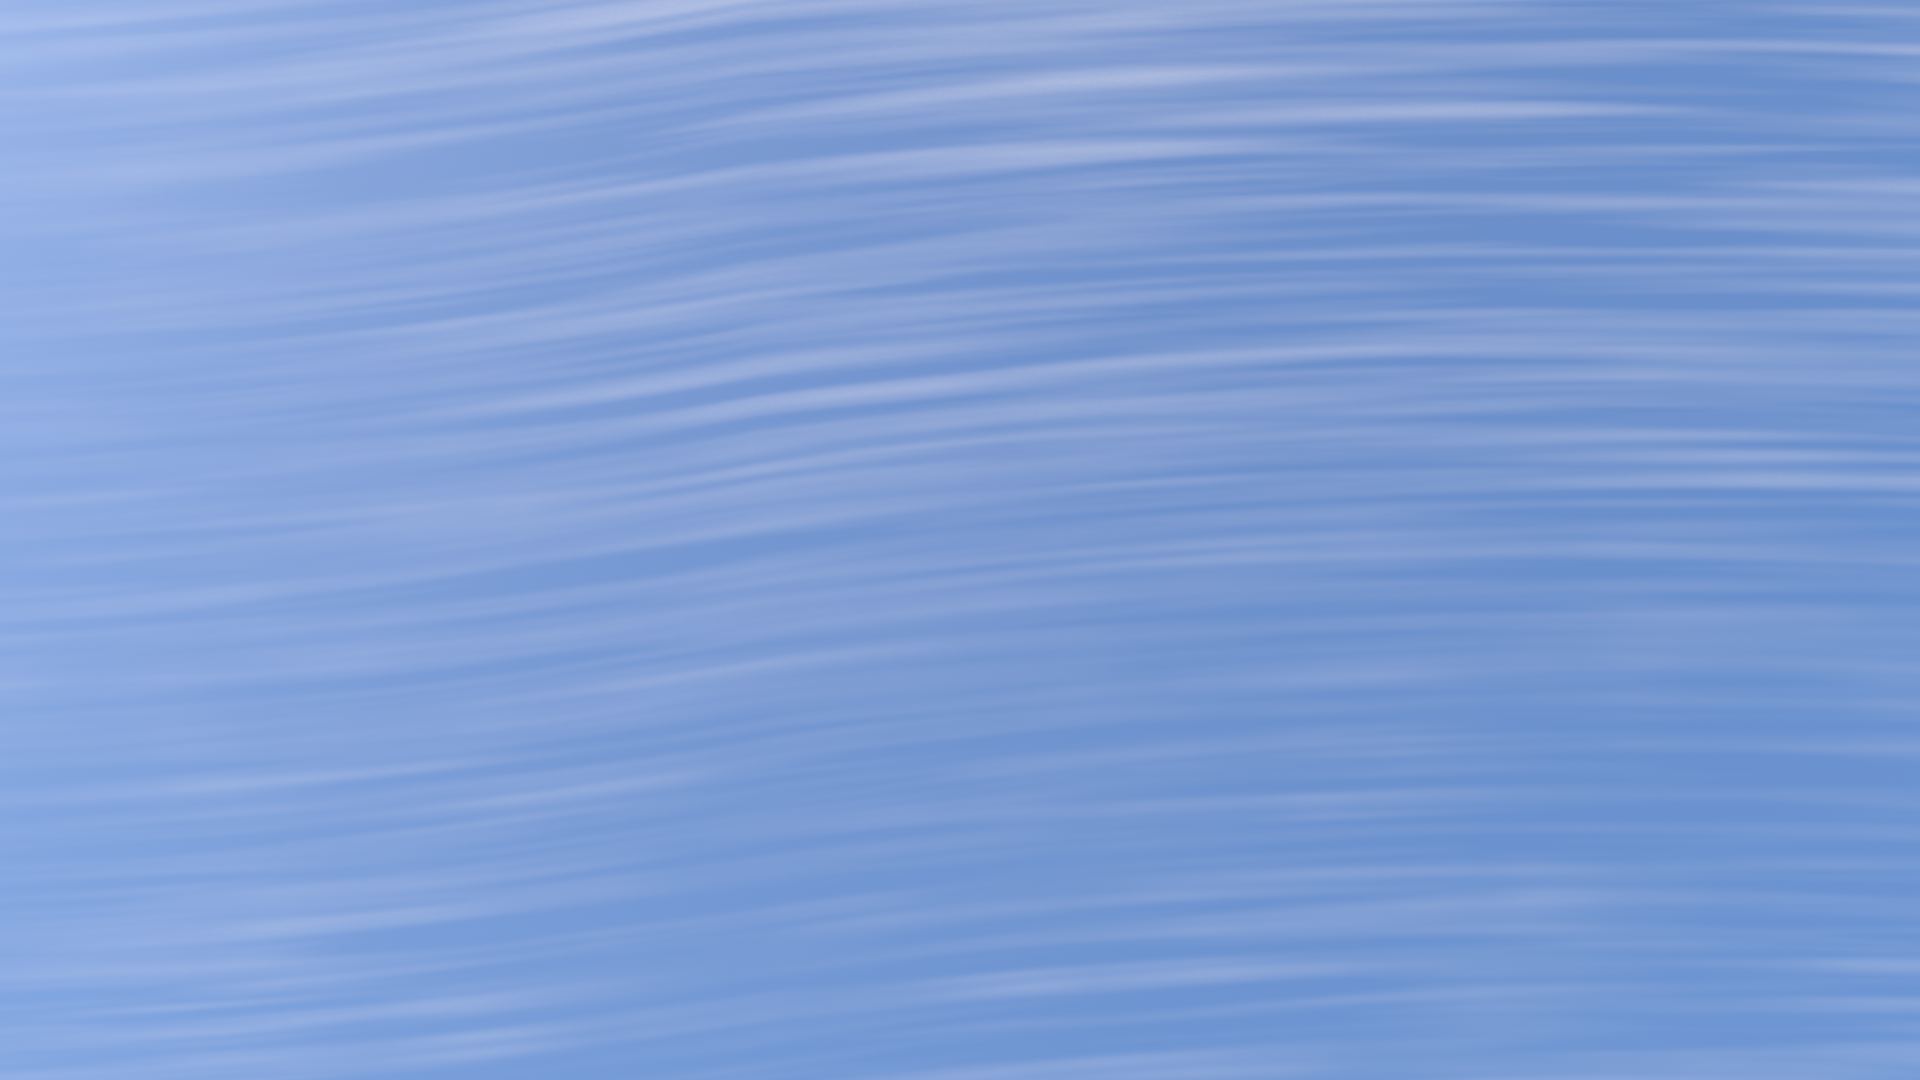
For a more fibrous looking cirrostratus layer we will now use what I call a NoN (Noise on Noise). We can simulate the fibrous look by a very high frequency in an axis but to add a little distortion to that noise we have to use a another noise with a very low frequency added to voxel positions before they are connected to first noise’s position input. Analytic simplex noise does a good job on creating natural looking vortices and curls, simulating the winds in upper atmosphere.
For a realistic looking cloud layer you can add variation by using another texture to create hybrids and compositions. Remember that weather is a very dynamic (and chaotic) environment and many types of clouds live together.
 CC BY-SA 3.0, https://commons.wikimedia.org/w/index.php?curid=75114
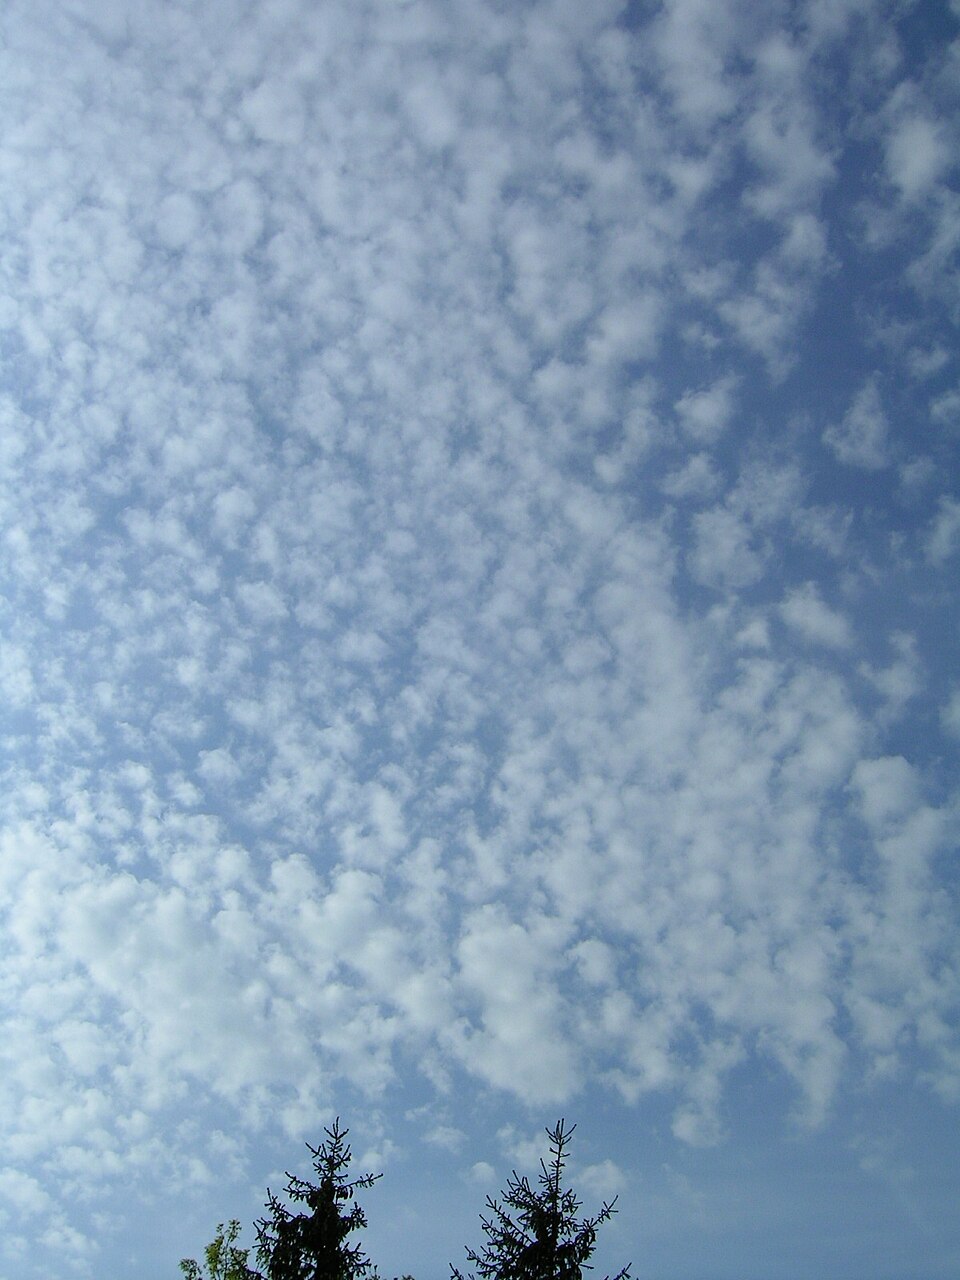
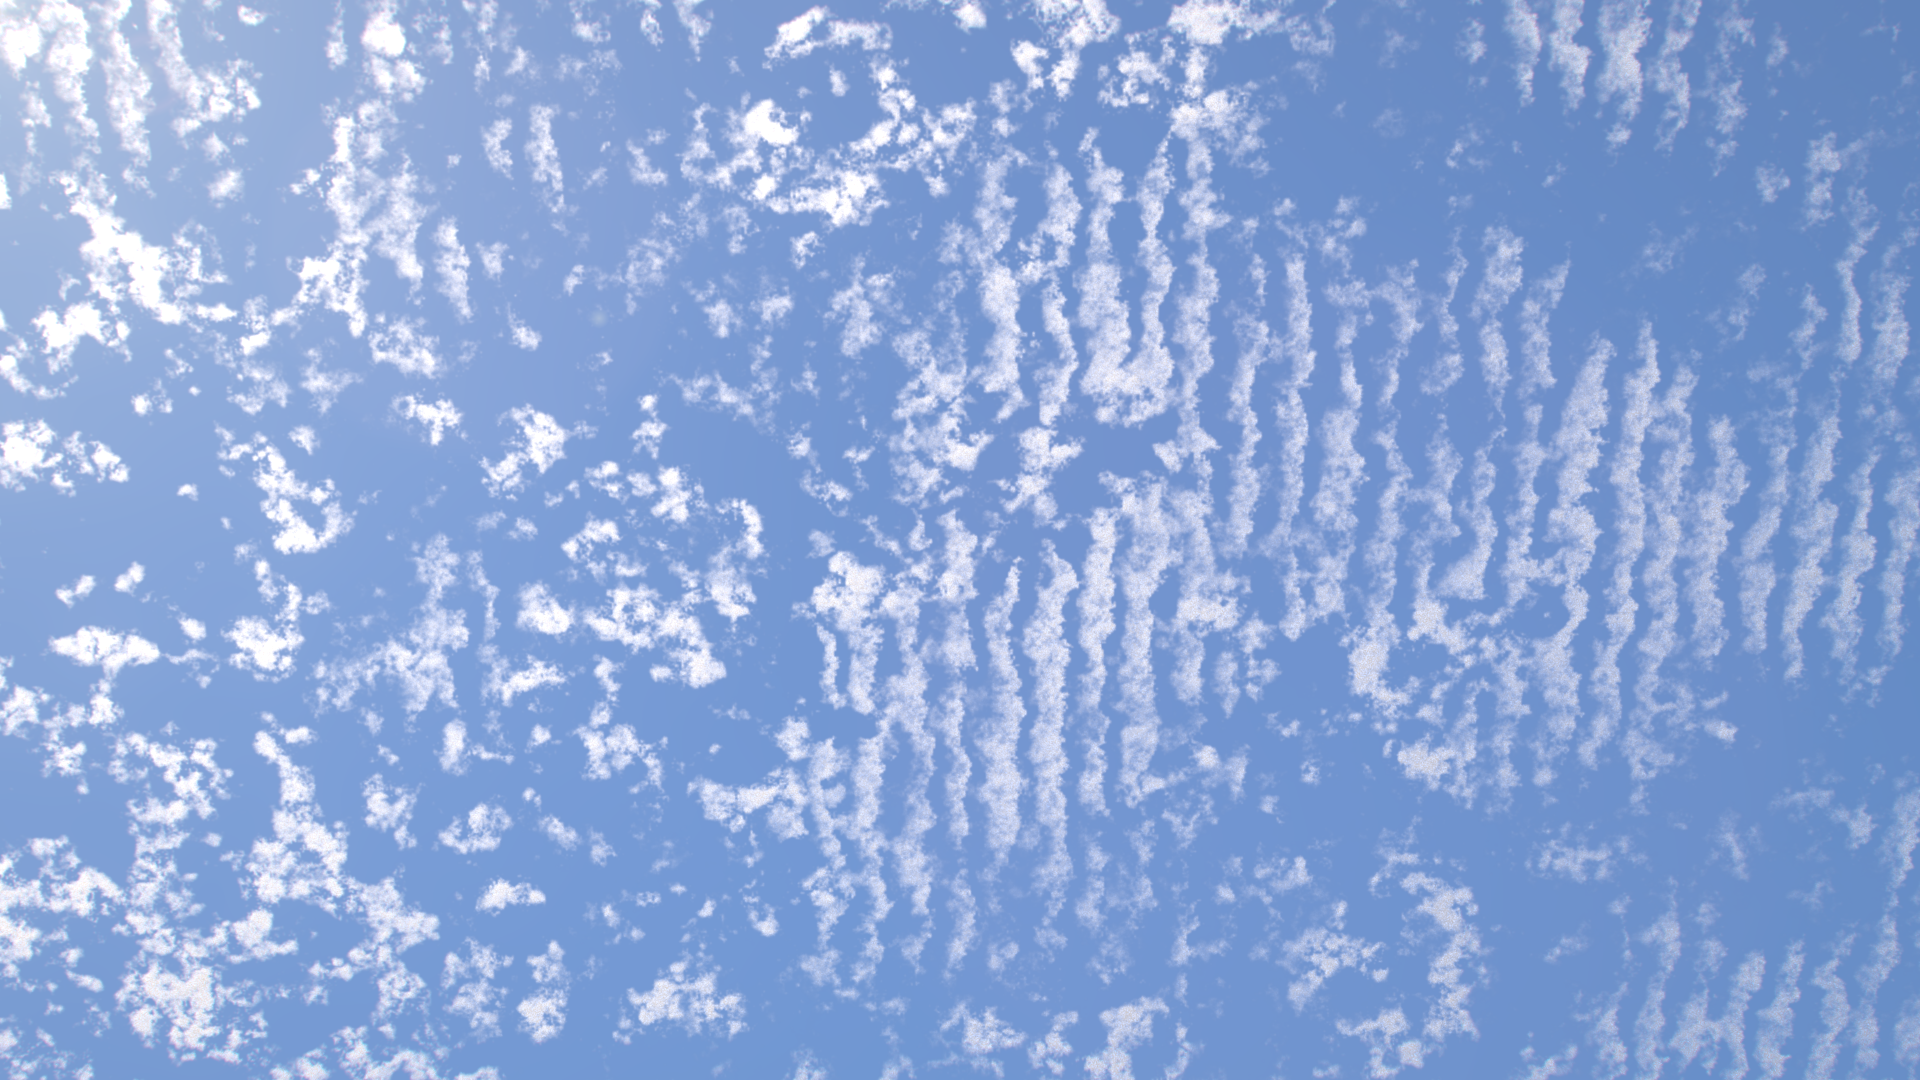
In the first part of this series we have created the puffy looking cumulus clouds. Cirrocumulus clouds are the tropospheric cousins of cumulus clouds usually living in altitudes between 5 to 12 kilometers.
Cirrocumulus clouds have short lives and they usually transit into cirrus clouds. They form due a convection in higher altitude or a nimbus anvil breaking up.
Taking a look at cirrocumulus clouds reveal that they can be modelled with a texture we are very familiar with… Voronoi. A little NoN with an Alligator noise added to voronoi noise VOP gives us a great cirrocumulus cloud layer.
You can adjust the coverage and smoothness of the cloud layer with varying the parameters of the turbulent noise.
Due to high altitude atmospheric waves it is also very common to see banding in cirrocumulus clouds. This phenomenon is called mackerel sky and is comprised of cirrocumulus or altocumulus clouds.
 By Prashanthns - Own work, CC BY-SA 3.0, https://commons.wikimedia.org/w/index.php?curid=7266184
To simulate waves in atmosphere we will use ramps VOP node to simulate banding. You can adjust the frequency or the noise to your liking.
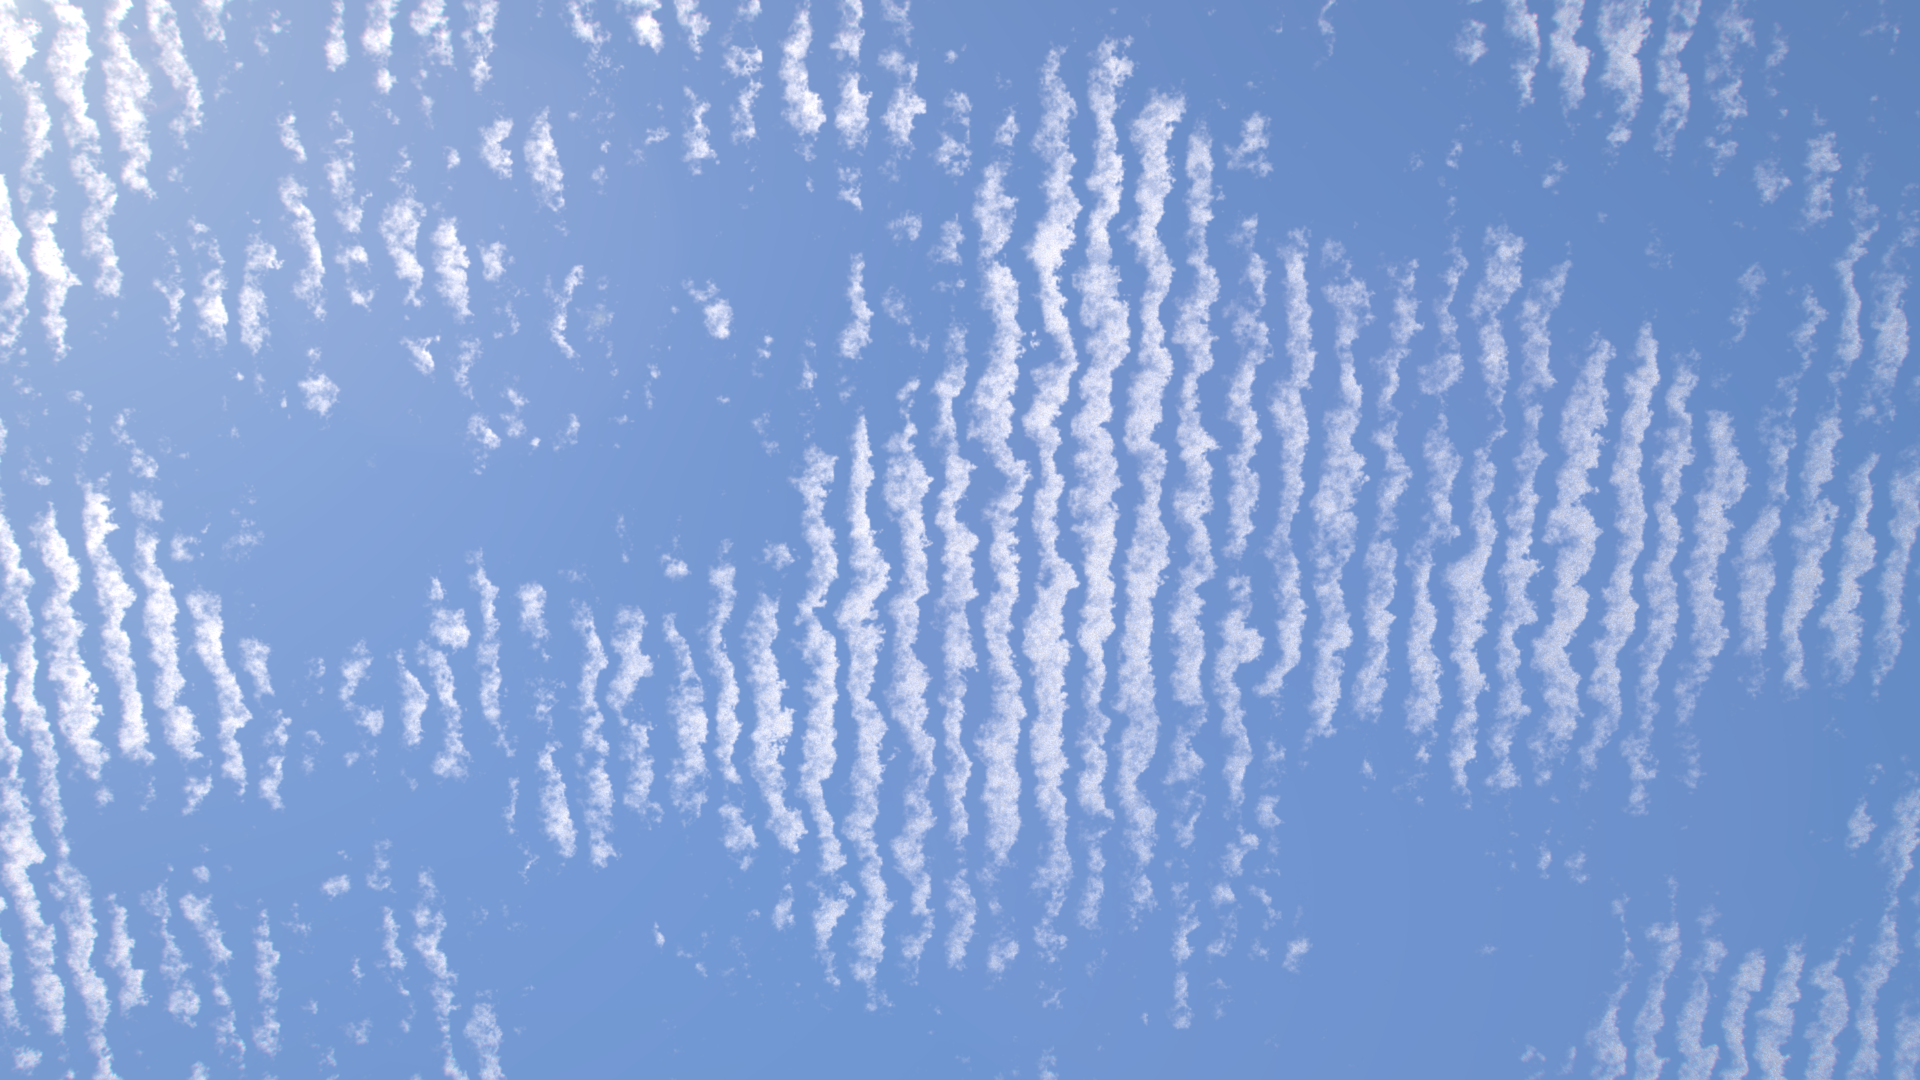
And as always you can mix and composite any type of cloud you want with another noise shader. You can see below a typical cirrcumulus layered with banded cloud.
 By Stefy1576 - Own work, CC BY-SA 4.0, https://commons.wikimedia.org/w/index.php?curid=78496139
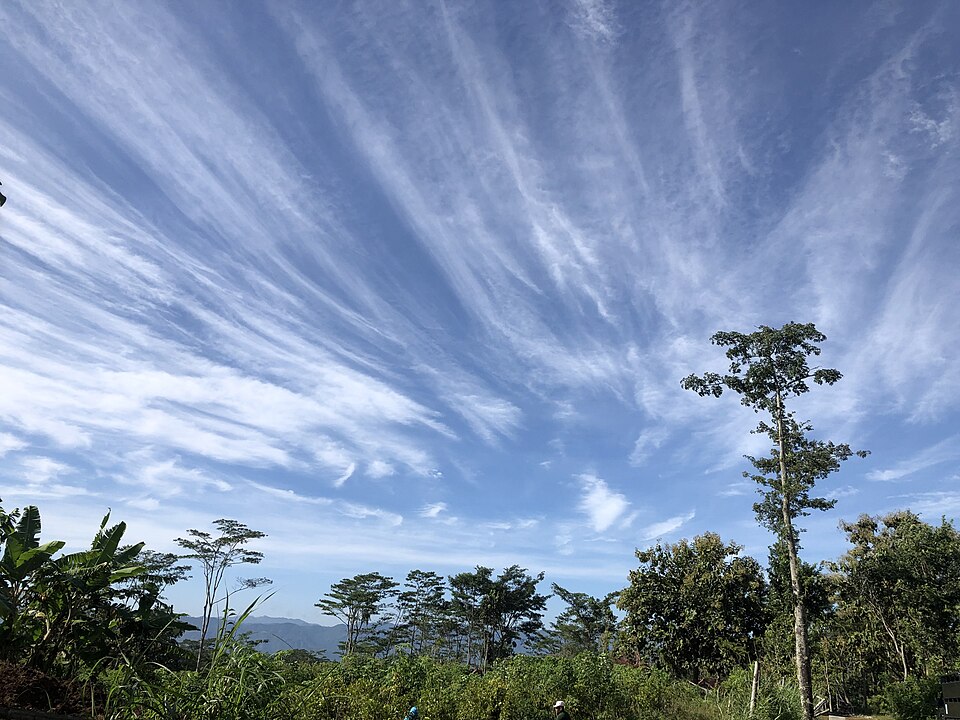
Cirrus clouds are high altitude clouds that live between 5 to 14 kilometers. The name cirrus comes from Latin word cirrus meaning ringlet or curled up hair. They have very wispy strand looking appearance and are shaped by high speed winds.
Due to specific shapes of cirrus clouds it’s very hard to model them with noise textures. So we have to deviate from the normal VOP approach here. But using simple deduction methods we can simulate them with SOP level tools.
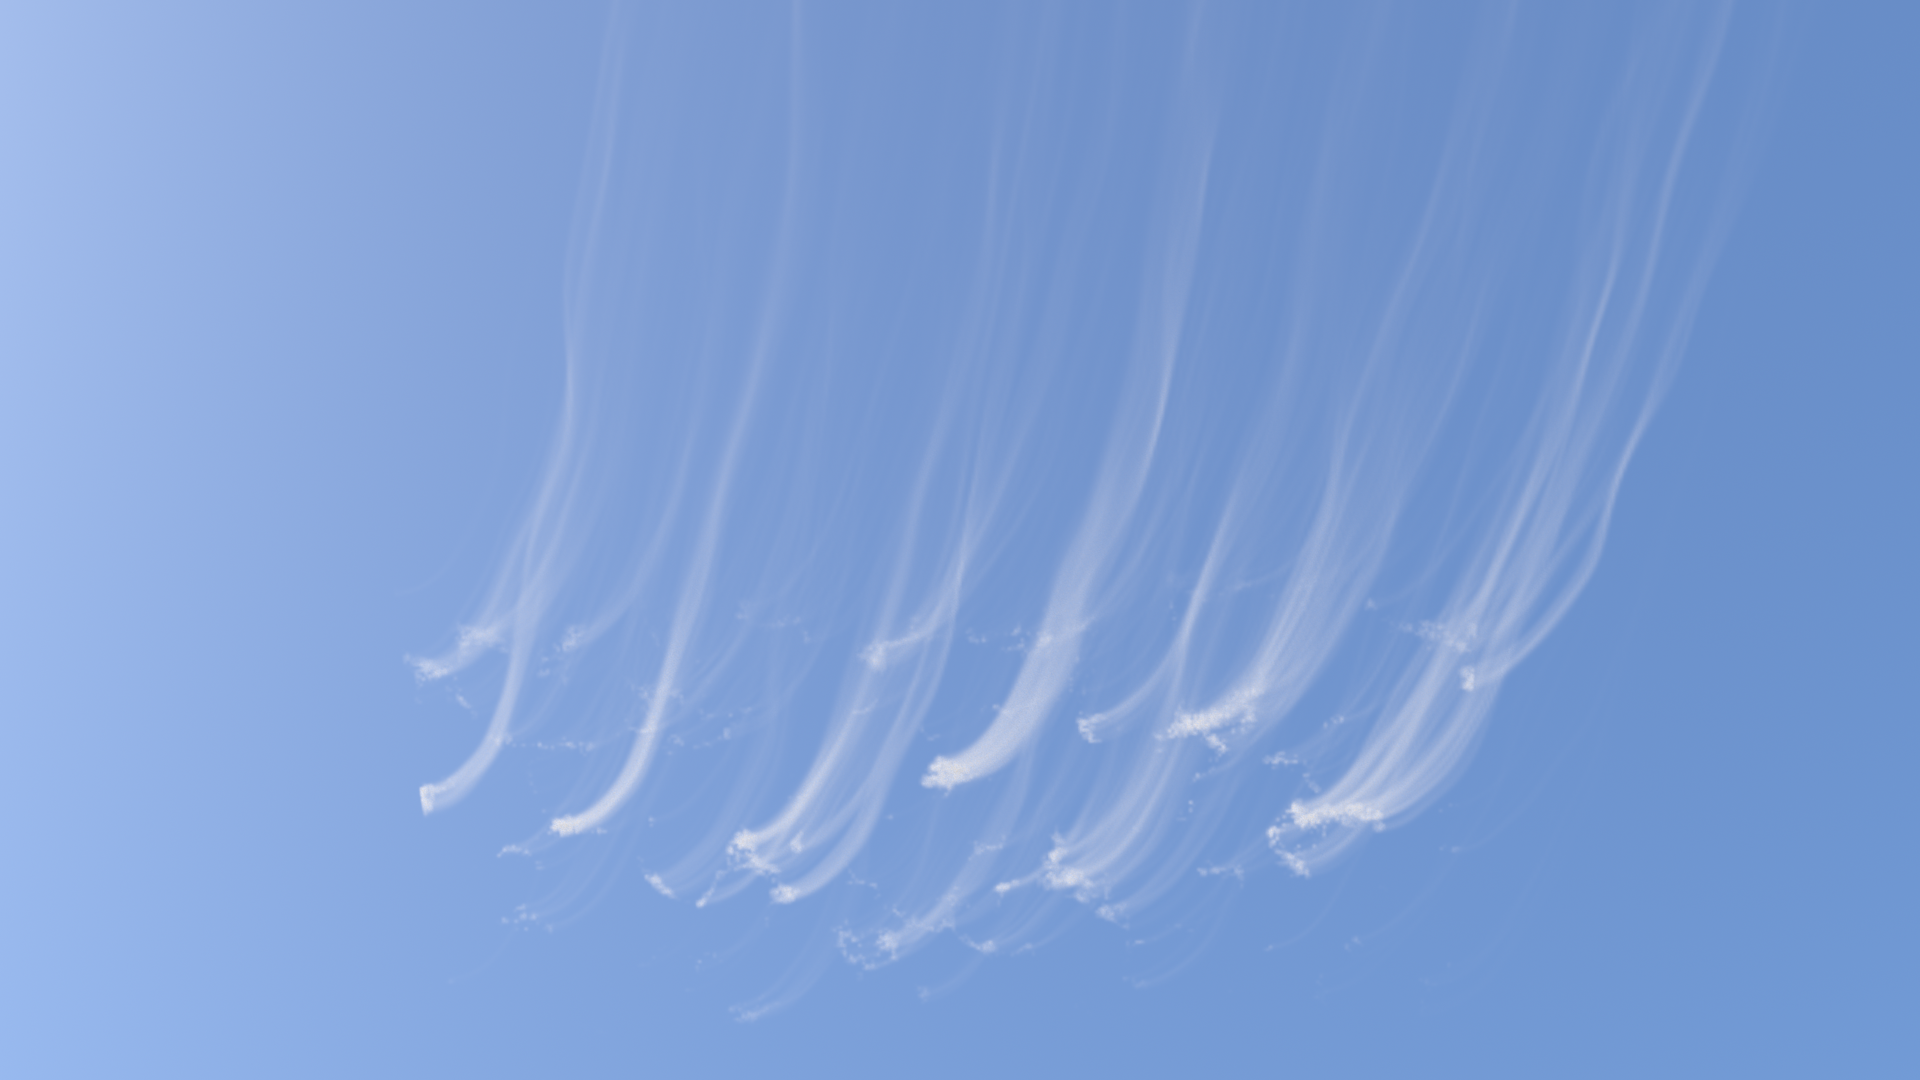
First of all we know that cirrus clouds originate from cirrocumulus clouds. So we can use them as the base. And we know that we need stringy parts to create the tails of the cirrus clouds. So we can first create a cirrocumulus base and use “scatter” node to scatter some points where there is density. Using this points as source in a popnet and converting them to polylines, we can create the tail parts using a “Volume Rasterize Curve” node.
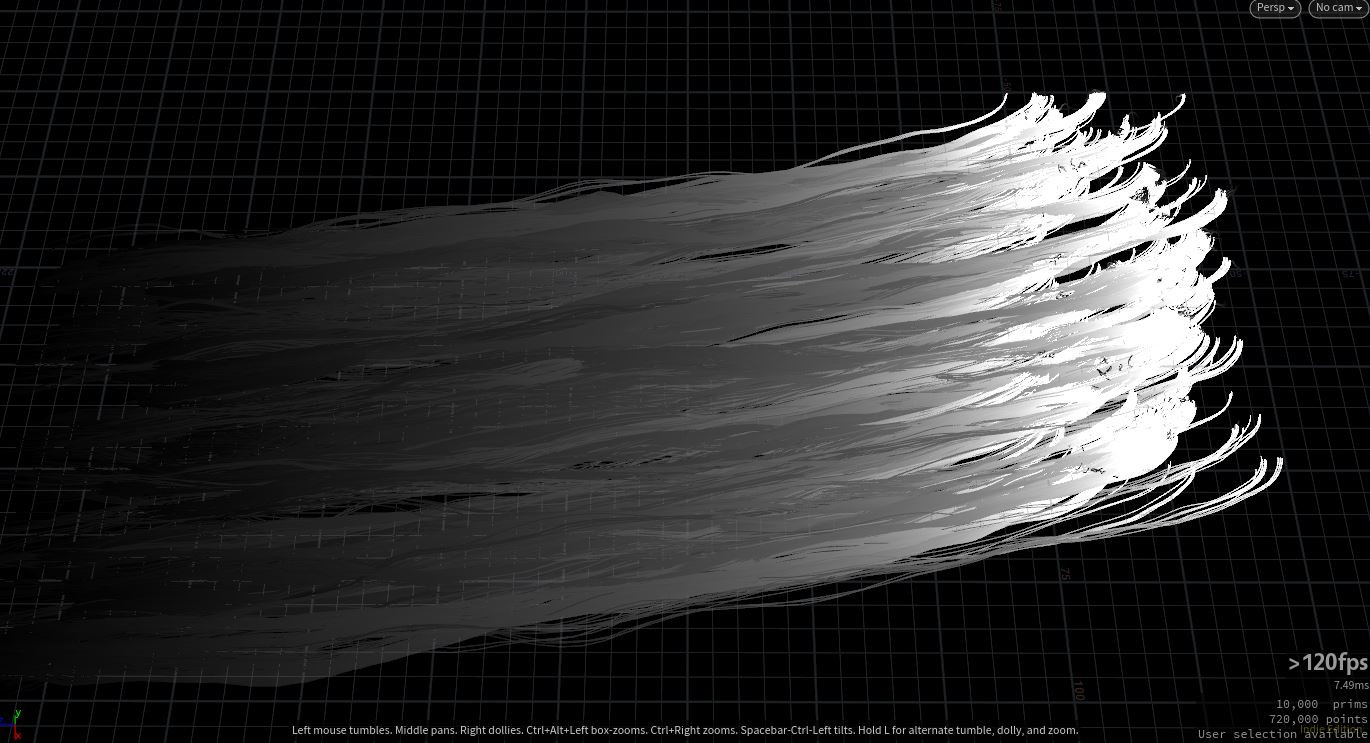
After carefully adjusting the pscale and density attributes on curves, we can have a nice collection of cirrus clouds. We can merge them back to our cirrocumulus clouds and render.
In this part we have covered how to create high altitude tropospheric clouds. These clouds are shaped by the forces that affects how we see our world everyday.
Remember that, if your shot doesn’t specifically require creating these clouds, they can trivially be replaced with stock footage or simply textures assigned to a plane. Making them look very realistic is a laborious work and can consume a very large amount of time. We just took a look at how the individual cloud types are created but arranging and compositing them to create a scenery is also a topic itself that can take pages to write.
In the next part we will be covering Lighting, rendering and compositing of clouds while we create most common (and a few exotic) cloudscapes. We will take a look at stormy, sunny and cloudy days and even try to imagine how clouds affect the scene if we are in the space.
Thanks for stopping by. See you on the next part.
Introducing the Bubbleᴴ, A wrapper for siggraph paper "Double Bubble Sans Toil and Trouble"
Learn how to create a path tracer using houdini particles
Learn how to light and render cloudscapes with Houdini and Arnold
